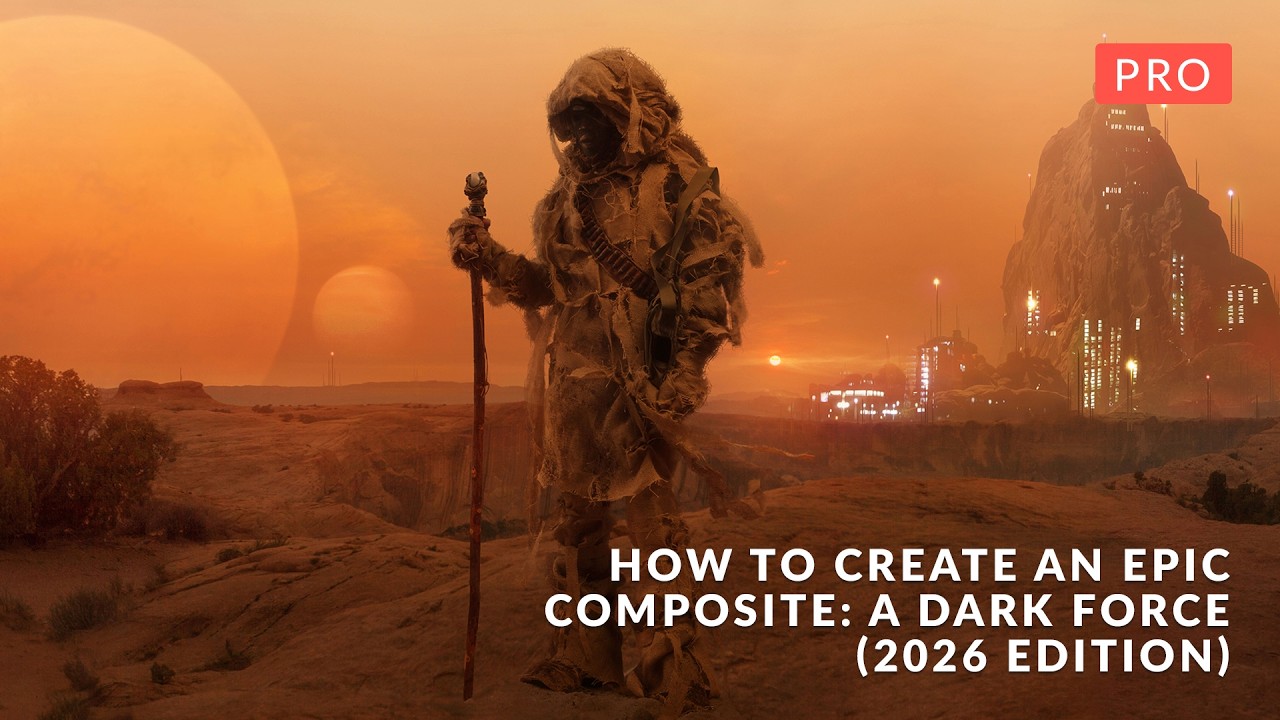
Most compositing tutorials teach you how to cut something out and drop it onto a new background. Call it a day. The result always looks like exactly what it is: two photographs that don’t belong together. What separates work that actually holds up, whether that’s a billboard, a campaign hero shot, or a spec piece, is whether the light, atmosphere, and depth feel like they came from the same universe.
I’ve spent 15 years inside commercial studios building retouching pipelines, and the single biggest thing clients complain about in composite work isn’t masking quality. It’s atmosphere. Things don’t feel like they exist in the same physical space. That’s the problem this PHLEARN tutorial tackles head-on, and it tackles it without leaning on AI generation, neural filters, or any of the automated shortcuts that have become easy crutches. Watch the full tutorial on YouTube
The course is a complete rebuild of PHLEARN’s original 2017 Dark Force composite, redesigned from scratch and clocking in at over six hours. It’s aimed at intermediate to advanced Photoshop users, and that’s an honest description, not marketing copy. If you’ve never built a multi-layer composite before, you’ll want some reps first. But if you’re comfortable with masks and adjustment layers and you want to understand how professionals think about building a scene, this is one of the most structured breakdowns I’ve seen. Here’s how the whole thing unfolds.
Step 1: Build Your Background Plate from Multiple Shots
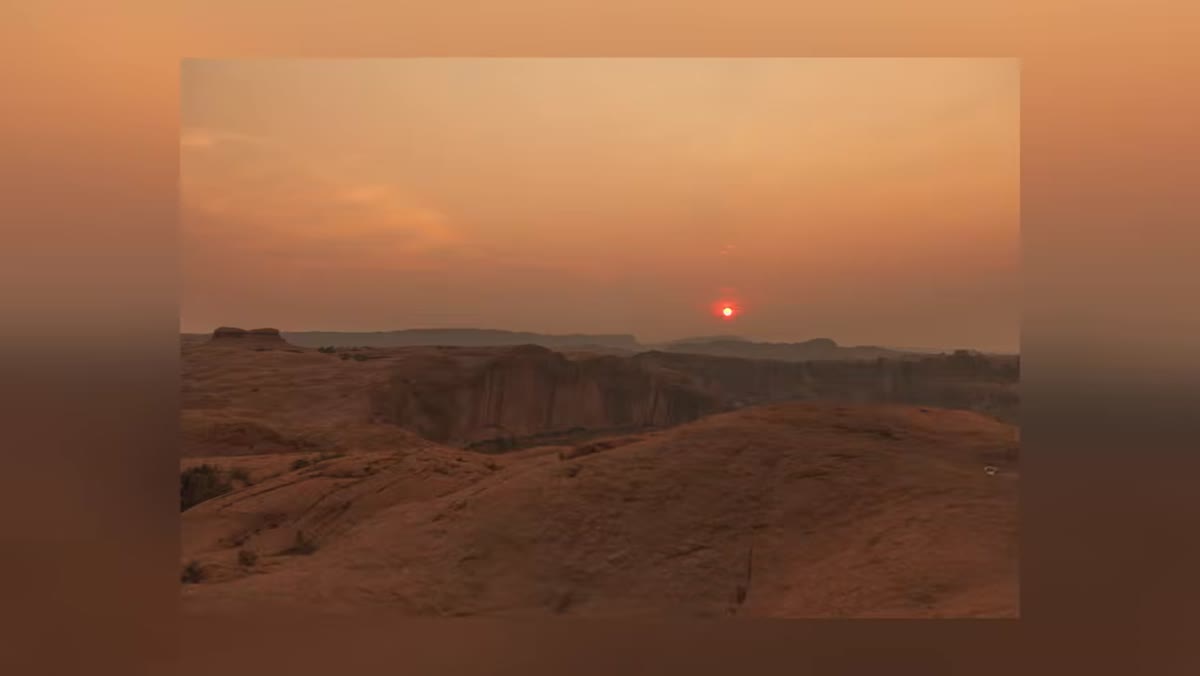 Three Utah landscape photographs being aligned in Photoshop
The composite starts with the background, not the subject, which is exactly the right call. Three separate photographs shot in Utah are combined into a single panoramic plate. The key tool here is the Transform tool, used to manually align each image so the horizon lines, perspective, and scale all read as continuous. Resist the urge to use Photomerge and automate this step. Manual alignment forces you to understand why each image does or doesn’t fit, and that awareness pays off later.
Three Utah landscape photographs being aligned in Photoshop
The composite starts with the background, not the subject, which is exactly the right call. Three separate photographs shot in Utah are combined into a single panoramic plate. The key tool here is the Transform tool, used to manually align each image so the horizon lines, perspective, and scale all read as continuous. Resist the urge to use Photomerge and automate this step. Manual alignment forces you to understand why each image does or doesn’t fit, and that awareness pays off later.
Once the images are geometrically aligned, the real work is color and light matching at the seams. Sample the luminosity and color temperature from both sides of each join and use a gradient mask to blend between them. The goal isn’t just that the edges disappear. It’s that a viewer could crop any section of the background plate and it would look like a single photograph taken in one moment.
Step 2: Integrate Planets Using Blending Modes and Masking
 Planet photograph being masked into sky layer with blending modes panel open
Planets are the farthest elements in the scene, so they go in second, right after the background plate is locked. The technique here is more nuanced than people expect. You’re not just dropping a planet photo onto a Screen blending mode and calling it done. The masking has to account for how the atmosphere would actually interact with something that large and that distant.
Planet photograph being masked into sky layer with blending modes panel open
Planets are the farthest elements in the scene, so they go in second, right after the background plate is locked. The technique here is more nuanced than people expect. You’re not just dropping a planet photo onto a Screen blending mode and calling it done. The masking has to account for how the atmosphere would actually interact with something that large and that distant.
Use a soft mask to fade the planet into the sky rather than cutting a hard edge. Then use Hue/Saturation and Color Balance adjustment layers clipped to the planet layer to shift its color toward the ambient sky tone. The planet should feel like it was photographed in the same light as everything else, not imported from a different shoot.
Step 3: Paint Atmospheric Haze onto Distant Mountains
 Rock photographs being color-matched and painted to look like distant mountains
This is where the tutorial gets interesting. The “distant mountains” are actually repurposed photographs of rocks, transformed through light adjustment and color painting to read as far-away terrain. First, reduce the contrast and lift the shadows on the rock photos to simulate the way atmosphere flattens values over distance. The further something is, the closer its darks get to the midtones.
Rock photographs being color-matched and painted to look like distant mountains
This is where the tutorial gets interesting. The “distant mountains” are actually repurposed photographs of rocks, transformed through light adjustment and color painting to read as far-away terrain. First, reduce the contrast and lift the shadows on the rock photos to simulate the way atmosphere flattens values over distance. The further something is, the closer its darks get to the midtones.
Then, and this is the technique I found most valuable, sample colors directly from the background sky near the horizon and paint them over the rocks using a brush set to Color blending mode. This replaces the hue and saturation of the rocks while preserving their luminosity structure. The result is terrain that picks up the atmospheric color cast of the scene rather than sitting on top of it.
Step 4: Create a Custom Brush for Architectural Structures
 Custom brush being built from scratch in Brush Settings panel
The civilization’s spires are painted using a custom Photoshop brush built inside the tutorial, not a downloaded preset. The brush creation process involves defining a tip shape, adjusting spacing so individual marks don’t merge into a blob, and setting scattering parameters to get variation in height and placement. The tutorial includes the finished brush in the course download, but building it yourself first teaches you why each setting exists.
Custom brush being built from scratch in Brush Settings panel
The civilization’s spires are painted using a custom Photoshop brush built inside the tutorial, not a downloaded preset. The brush creation process involves defining a tip shape, adjusting spacing so individual marks don’t merge into a blob, and setting scattering parameters to get variation in height and placement. The tutorial includes the finished brush in the course download, but building it yourself first teaches you why each setting exists.
Once the brush is set up, paint the spires on a new layer using colors sampled from the existing scene. Use Multiply mode for base strokes to integrate with the rock texture below, then switch to a lighter color in Normal mode for edge highlights to separate the structures from the background.
Step 5: Add City Lights Using Photographs and Perspective Transforms
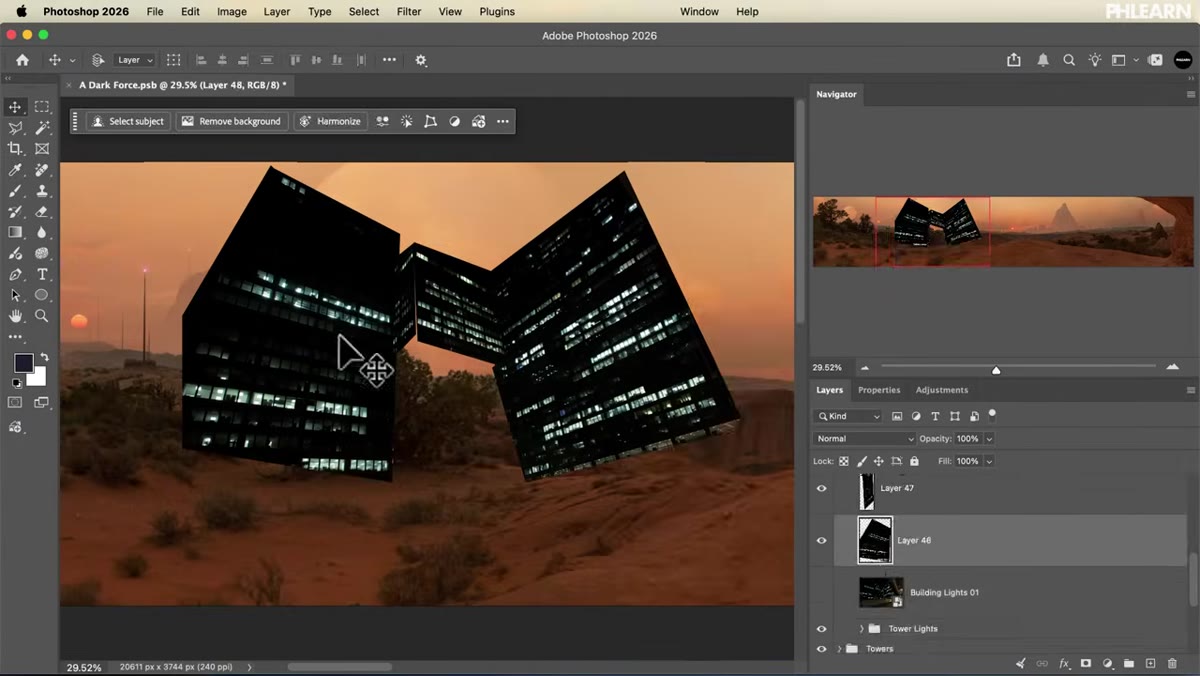 City night photographs being cut out and transformed into perspective
Real photographs of city lights at night are used here rather than painted ones, which is a smart call. Photographed light has a complexity that’s hard to replicate manually. The workflow is to cut the light clusters out of their original backgrounds, then use Free Transform with perspective adjustments to warp them so they follow the receding geometry of the mountains they’re sitting on.
City night photographs being cut out and transformed into perspective
Real photographs of city lights at night are used here rather than painted ones, which is a smart call. Photographed light has a complexity that’s hard to replicate manually. The workflow is to cut the light clusters out of their original backgrounds, then use Free Transform with perspective adjustments to warp them so they follow the receding geometry of the mountains they’re sitting on.
Layer multiple light sources across different spires and vary the color temperature between them slightly. Not everything in a real city glows the same temperature. A small hue shift between clusters of lights reads as realism without the viewer being able to articulate why.
Step 6: Match Light on Foreground Subjects with Hand Painting
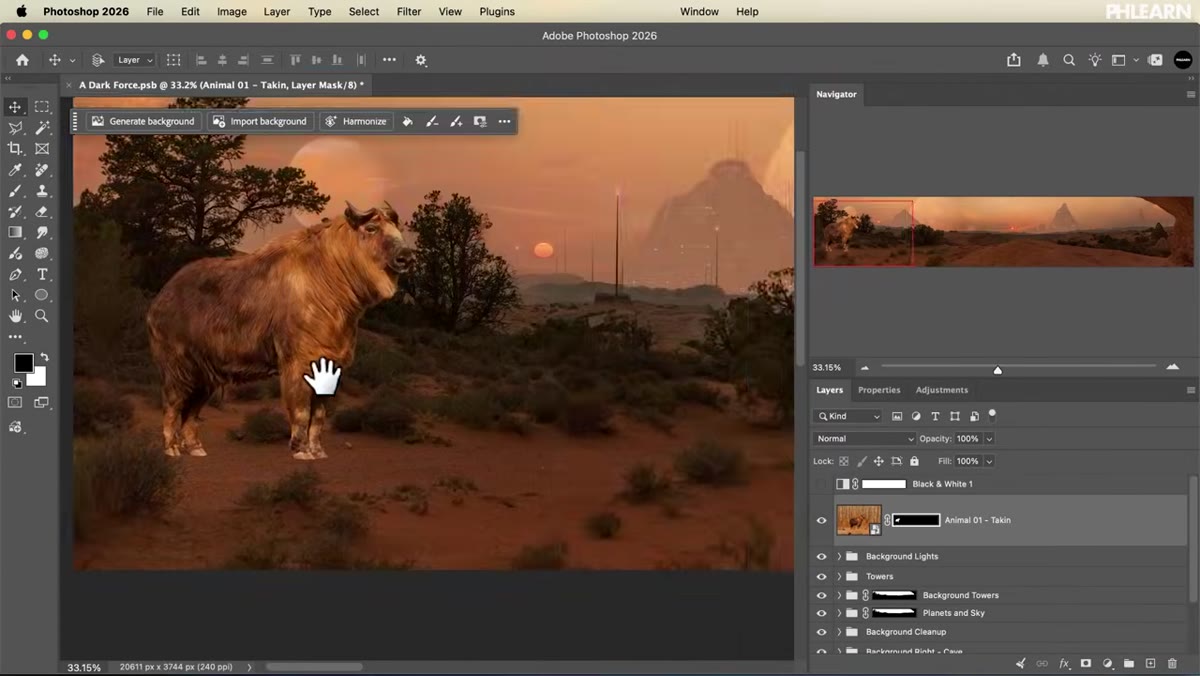 Foreground figures being masked and shadow-painted into environment
The people and the animal in the foreground go in last, after the entire environment is established. This order matters. You need to know what the light is doing in the scene before you can convincingly paint it onto your subjects. After masking each figure out, sample colors from both the ground plane and the sky, then paint those colors onto separate layers set to Multiply (for shadows) and Screen or Overlay (for reflected light).
Foreground figures being masked and shadow-painted into environment
The people and the animal in the foreground go in last, after the entire environment is established. This order matters. You need to know what the light is doing in the scene before you can convincingly paint it onto your subjects. After masking each figure out, sample colors from both the ground plane and the sky, then paint those colors onto separate layers set to Multiply (for shadows) and Screen or Overlay (for reflected light).
The ground reflects warm light up onto the underside of clothing and limbs. The sky reflects cooler light across shoulders and the tops of heads. Painting both of these separately, even subtly, is what makes a subject look like they’re physically inside an environment rather than pasted on top of one. Motion blur on clothing edges is added last to suggest wind and break up the static feel that composited figures often carry.
A Note on Using This Approach in Commercial Work
Six hours is a long time to spend on one image, and I won’t pretend that timeline maps directly onto client work. In my consultancy, I use a version of this depth-layered approach on campaign composites, but I’ve also built Photoshop actions for the repetitive portions: atmosphere overlay application, grain matching across layers, and base color grading passes. The manual thinking this tutorial teaches is irreplaceable. The execution of that thinking is where automation saves you. Learn the full manual method first. Then figure out which parts of your personal workflow are worth automating.
The single most transferable idea in this entire tutorial is the principle of building depth by working from back to front, not by cutting subjects out and then figuring out where to put them. Every compositing decision becomes easier when you know exactly what the light is doing in the scene before your subject exists in it.
Watch the full tutorial on YouTube and work through it in sections. The background-building and atmospheric painting chapters alone are worth the time, even if you never build a sci-fi panorama in your career.
Comments
Leave a Comment