Clone Stamp vs. Healing Brush: The Decision That Changes How You Retouch Forever

Clone Stamp vs. Healing Brush: The Decision That Changes How You Retouch Forever

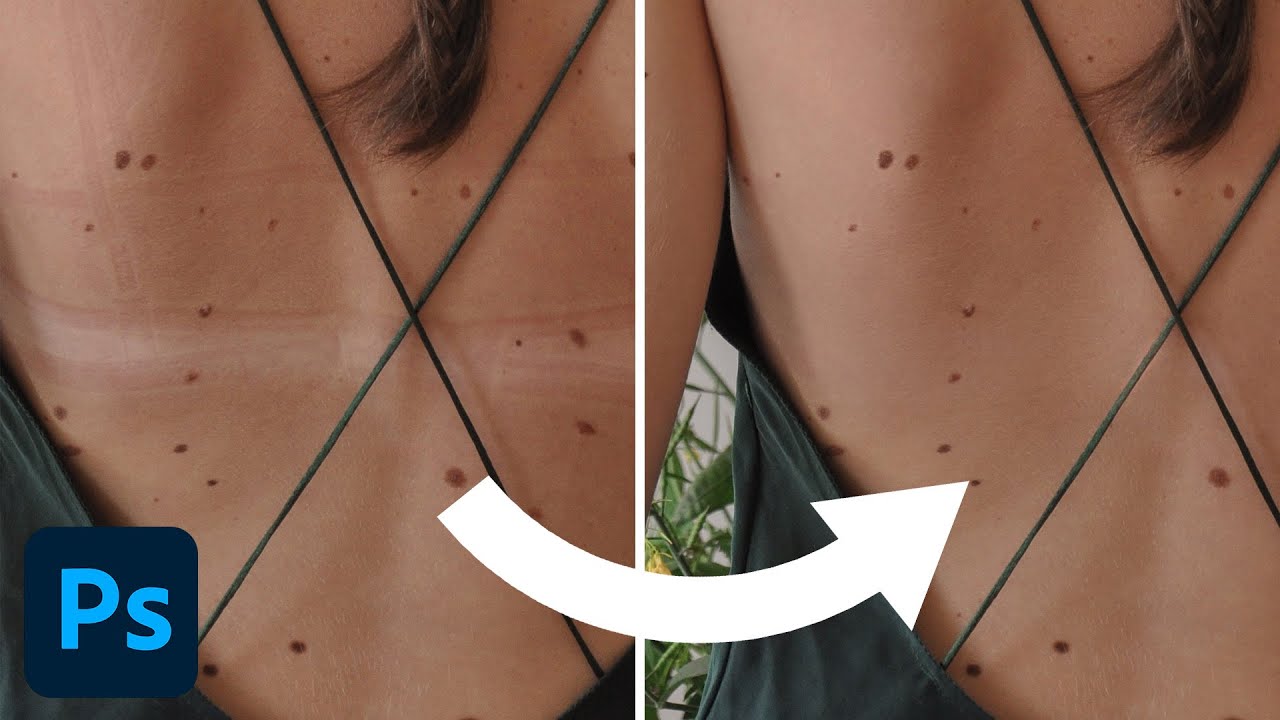
Fifteen years of production work will teach you things no tutorial ever explicitly states. One of them is this: the photographers who retouch slowly are almost never slow because they lack speed. They’re slow because they’re using the wrong tool and compensating with effort. I’ve watched junior retouchers spend forty minutes on a skin cleanup that should take eight, mostly because nobody ever sat them down and explained the actual mechanical difference between two tools that look, on the surface, like they do the same job.

Stop Editing Scared: Jared Platt's Lightroom Workflow Philosophy That Changed How I Shoot

Stop Editing Scared: Jared Platt's Lightroom Workflow Philosophy That Changed How I Shoot

I used to know photographers who would hesitate before pressing the shutter. Not because the light was wrong or the composition needed adjusting, but because they were already dreading the edit. That particular flavor of creative paralysis is more common than anyone admits, and it quietly kills good photographs before they ever get taken. When I first started moving into consultancy work after years in commercial studios, I saw this pattern constantly, especially with wedding and portrait shooters drowning in delivery backlogs.

Build a Star Field Brush in Photoshop That Actually Looks Real (Not Clip Art)

Build a Star Field Brush in Photoshop That Actually Looks Real (Not Clip Art)

Client sends over a panoramic cityscape. Beautiful shot, golden hour fading into deep blue. The brief says “add stars.” If you’ve been doing this long enough, you already know what the wrong approach looks like: grab a tiny round brush, set it to white, and start clicking. Two hundred clicks later, you’ve got a sky that looks like someone flicked a paintbrush at the monitor. Every star is identical. Every star is boring.

Photoshop Droplets: The Batch Processing Tool You're Probably Ignoring

Photoshop Droplets: The Batch Processing Tool You're Probably Ignoring

A few years into running my own post-production consultancy, I took on a project that nearly broke me: 500 product shots for an e-commerce client, all needing the same sequence of adjustments. Resize to 2000px on the long edge, sharpen, convert to sRGB, export as JPEG at quality 9. Straightforward stuff. But at the volume they needed, and on a Friday afternoon deadline, “straightforward” stops feeling that way fast. I finished the job, but I also spent the following weekend building a system that meant I’d never sit through that particular grind again.

Flash as Sunlight: How to Freeze Motion and Shape Dramatic Black-and-White Portraits

Flash as Sunlight: How to Freeze Motion and Shape Dramatic Black-and-White Portraits

Most of the lighting problems I see photographers struggle with are not about having the wrong gear. They are about not recognizing what the light is already doing and then deciding how to control it. I spent years in commercial studios watching photographers fight the available light when they should have been augmenting it. In this Daniel Norton Photographer tutorial, Watch the full tutorial on YouTube, Daniel walks through a setup that does exactly that: he spots natural window light coming into his studio, decides it looks like sunlight, and then uses a strobe to replicate and amplify that quality at a power level that actually freezes motion.

Build a Snow Brush in Photoshop from Scratch (And Actually Understand Why It Works)

Build a Snow Brush in Photoshop from Scratch (And Actually Understand Why It Works)

Every December, at least one client asks me to add snow to a product shot or lifestyle image that was photographed in July. For years I licensed stock snow overlays, and they were fine, right up until they weren’t. The wrong flake size, the wrong density, a pattern that tiled visibly if you looked closely. The overlay approach is a patch, not a solution. What I actually needed was a brush I could resize, rescatter, and repaint non-destructively depending on the image.

Flip Your Tonality: The Foreground-to-Background Exposure Trick That Guides the Eye

Flip Your Tonality: The Foreground-to-Background Exposure Trick That Guides the Eye

There’s a problem I keep seeing in raw files from photographers who are otherwise doing everything right. Great location, solid composition, proper exposure – and yet something feels off when the image hits the screen. The eye wanders. The sense of depth isn’t there. Nine times out of ten, the culprit isn’t the shot itself. It’s that the tonality is working against the composition rather than with it. I stumbled across this William Patino tutorial while looking for a cleaner way to explain tonal direction to a few junior retouchers I’ve been working with lately.

Before the Camera Comes Out: What a New Zealand Wilderness Shoot Teaches Us About Photographic Workflow

Before the Camera Comes Out: What a New Zealand Wilderness Shoot Teaches Us About Photographic Workflow

There’s a version of photography workflow that lives entirely inside a computer. Batch actions, export presets, color grading pipelines. That’s most of what I think about in my day job. But every so often I watch something that reminds me that the most important part of the workflow happens before you ever open Photoshop. In this William Patino tutorial filmed in Fiordland National Park, New Zealand, William walks through the complete end-to-end process of a serious landscape shoot: the map research, the multi-hour hike through boggy rainforest, the scouting decisions made on the fly when the terrain doesn’t match the map.

Lightroom's Density Slider Is Not What You Think (And That's the Point)

Lightroom's Density Slider Is Not What You Think (And That's the Point)

There’s a specific kind of frustration that comes from knowing exactly what you want a tool to do and feeling like it’s fighting you. I ran into this with Lightroom’s Adjustment Brush embarrassingly late in my career. I’d spent years in Photoshop building actions, dialing in brush opacity and flow to get precise, repeatable results on skin, product surfaces, backgrounds. Then I’d jump into Lightroom for a raw edit and the Adjustment Brush would just feel… blunt.

Rethinking Your Landscape Editing Order in ON1 Photo RAW 2019

Rethinking Your Landscape Editing Order in ON1 Photo RAW 2019

I have a spreadsheet that tracks every hour I’ve recovered through better workflow systems. It’s embarrassing how much of that time was lost not to bad tools, but to doing things in the wrong order. Sequence matters enormously in post-production, whether you’re batch-processing 500 product shots or sitting down with a single landscape file you actually care about. That’s why I keep coming back to tutorials from photographers who think systematically, not just creatively.

How to Build Custom Photoshop Brushes That Actually Work Inside Actions

How to Build Custom Photoshop Brushes That Actually Work Inside Actions

Last spring I was setting up a new dodging-and-burning action for a cosmetics client, one of those workflows where consistency really matters because the same action runs across 300 product shots in a single batch. The action broke on the third image. Not a layer issue, not a color mode conflict. The brush I had defined for the Healing Brush step had a texture applied that referenced a pattern the client’s machine didn’t have loaded.

How to Paint Realistic Splatter Effects Using a Custom Brush in Photoshop

How to Paint Realistic Splatter Effects Using a Custom Brush in Photoshop

There’s a specific category of retouching request I get from ad agency clients that used to slow me down every single time: adding painterly, organic-looking elements to an otherwise clean photograph. Powder bursts, ink splashes, paint splatters. The kind of thing that looks effortless in the final comp but eats up an hour if you’re doing it by hand with a generic round brush. What I eventually figured out, and what this tutorial nails cleanly, is that the real solution lives inside Photoshop’s Brush Settings panel, a place most people open once, get confused by, and never return to.