There’s a category of retouching work that never makes it into anyone’s portfolio but eats up a surprising chunk of billable hours. Background clutter. Stray wires. A parking cone that somehow wandered into the corner of a lifestyle shoot. For most of my career I handled these the same way everyone else did: Clone Stamp, Patch tool, Content-Aware Fill, rinse and repeat. It worked, but on a heavy e-commerce day it could chew through an hour before I’d even started the actual color work.
What caught my attention in this PHLEARN tutorial is the sequencing. It’s not just “here’s a new tool” - it’s a complete three-stage pipeline that moves from distraction removal to canvas expansion to final atmosphere, in the right order, using the right tool at each stage. That kind of workflow thinking is what separates a technique you use once from one you build into every session.
The whole edit runs under two minutes in the video, which made me skeptical until I tried it myself. The AI tooling in recent versions of Photoshop has gotten genuinely useful for this kind of work, and this tutorial shows exactly where to point it.
Step 1: Open the Remove Tool and Run “Find Distractions”
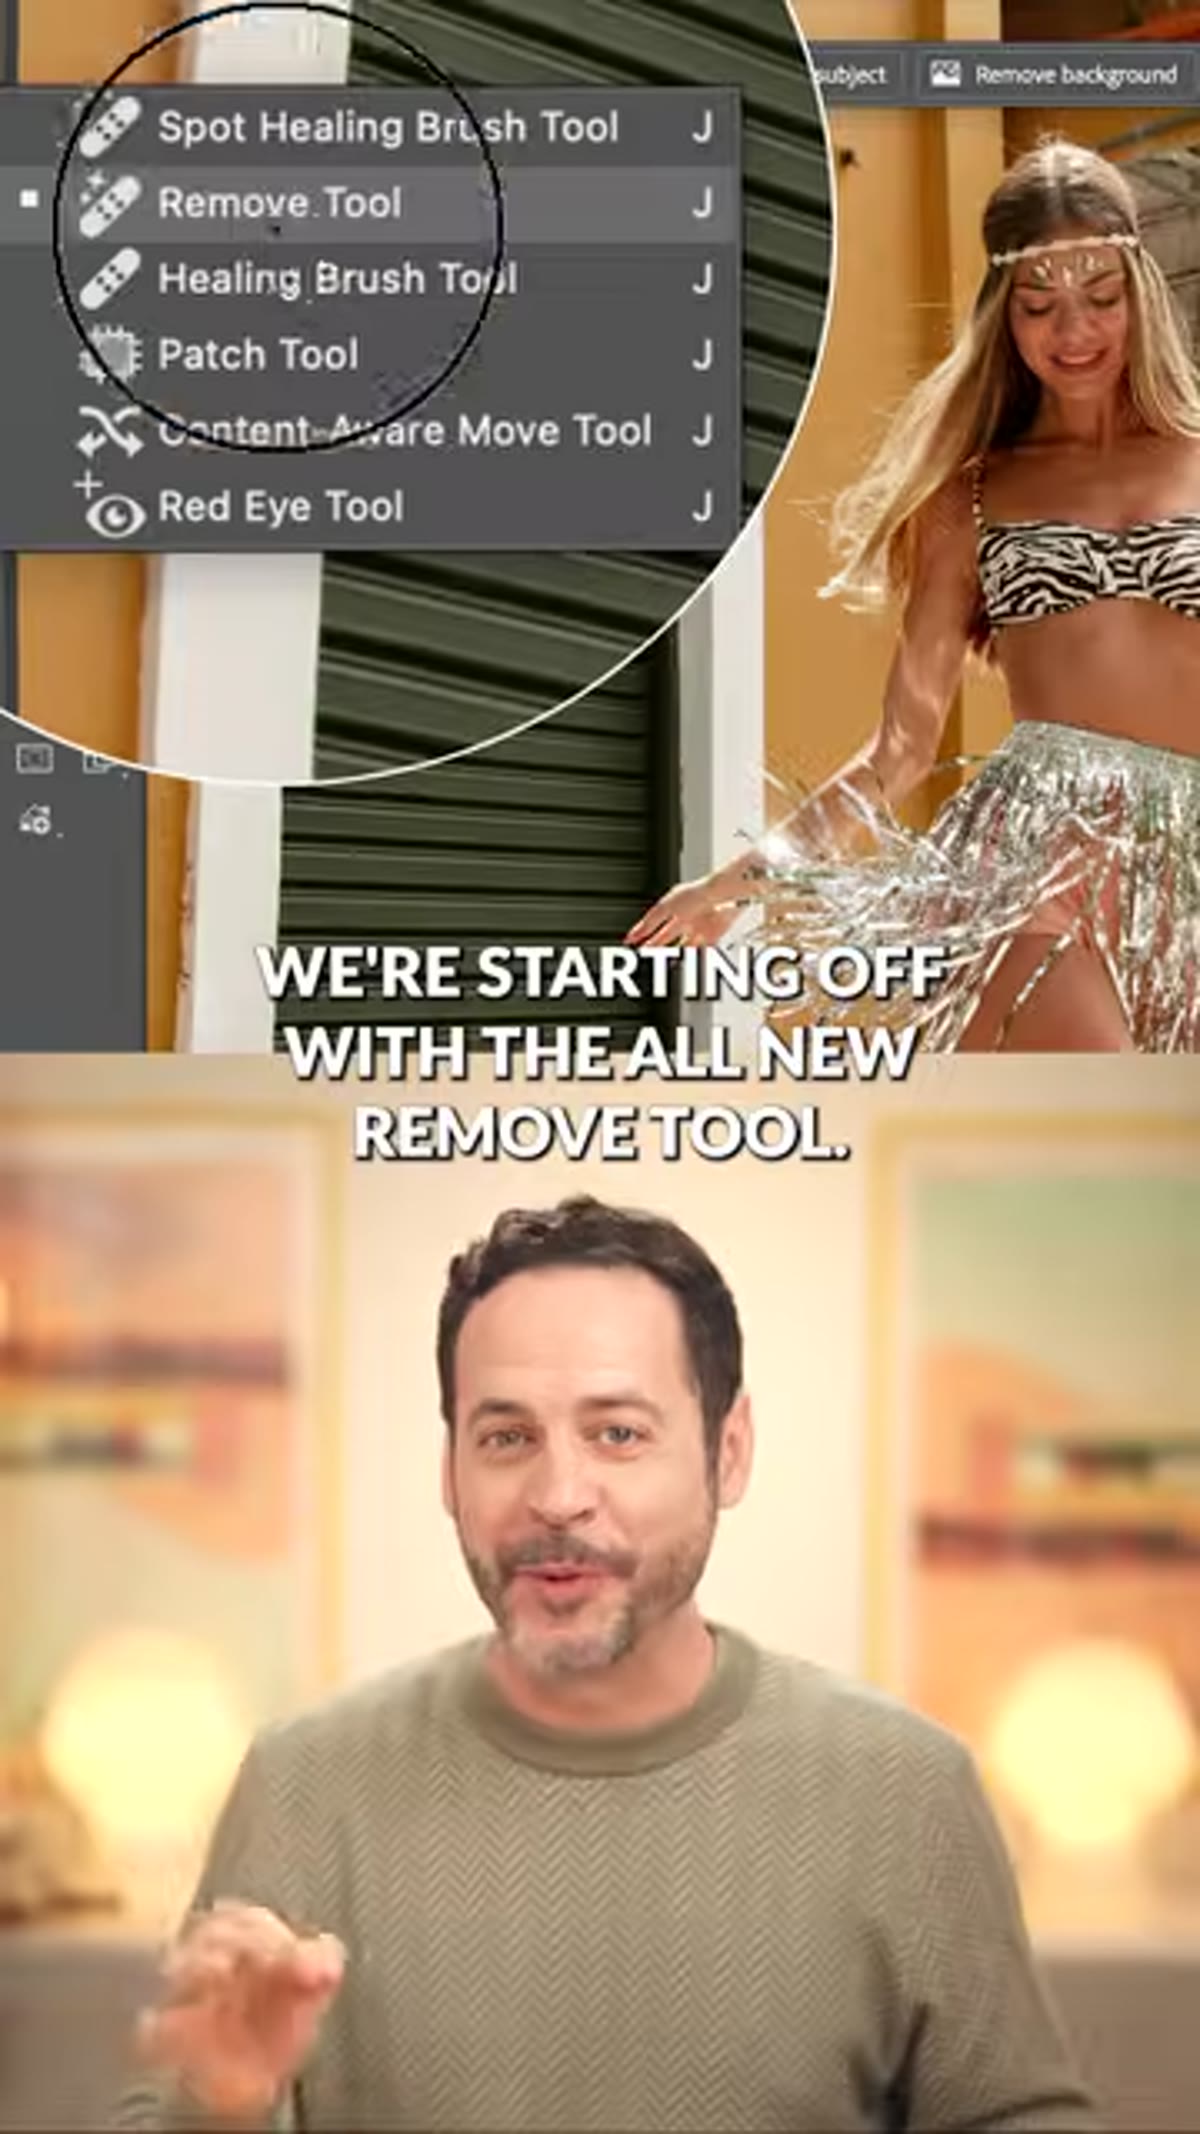 Remove tool panel open with Find Distractions option visible
Select the Remove tool from the toolbar - it’s grouped with the Spot Healing Brush if you don’t see it immediately. Once you’re in the tool, look at the contextual taskbar or the tool options bar along the top. You’ll find a “Find Distractions” button. Click it.
Remove tool panel open with Find Distractions option visible
Select the Remove tool from the toolbar - it’s grouped with the Spot Healing Brush if you don’t see it immediately. Once you’re in the tool, look at the contextual taskbar or the tool options bar along the top. You’ll find a “Find Distractions” button. Click it.
Under the “General Distractions” category, hit “Find.” Photoshop will scan the entire image and automatically identify and categorize elements it considers distracting - things like background people, signage, wires, and similar visual noise. This analysis takes a few seconds. The AI is doing real work here, not just running an edge-detection pass.
Step 2: Review the Selections and Confirm Removal
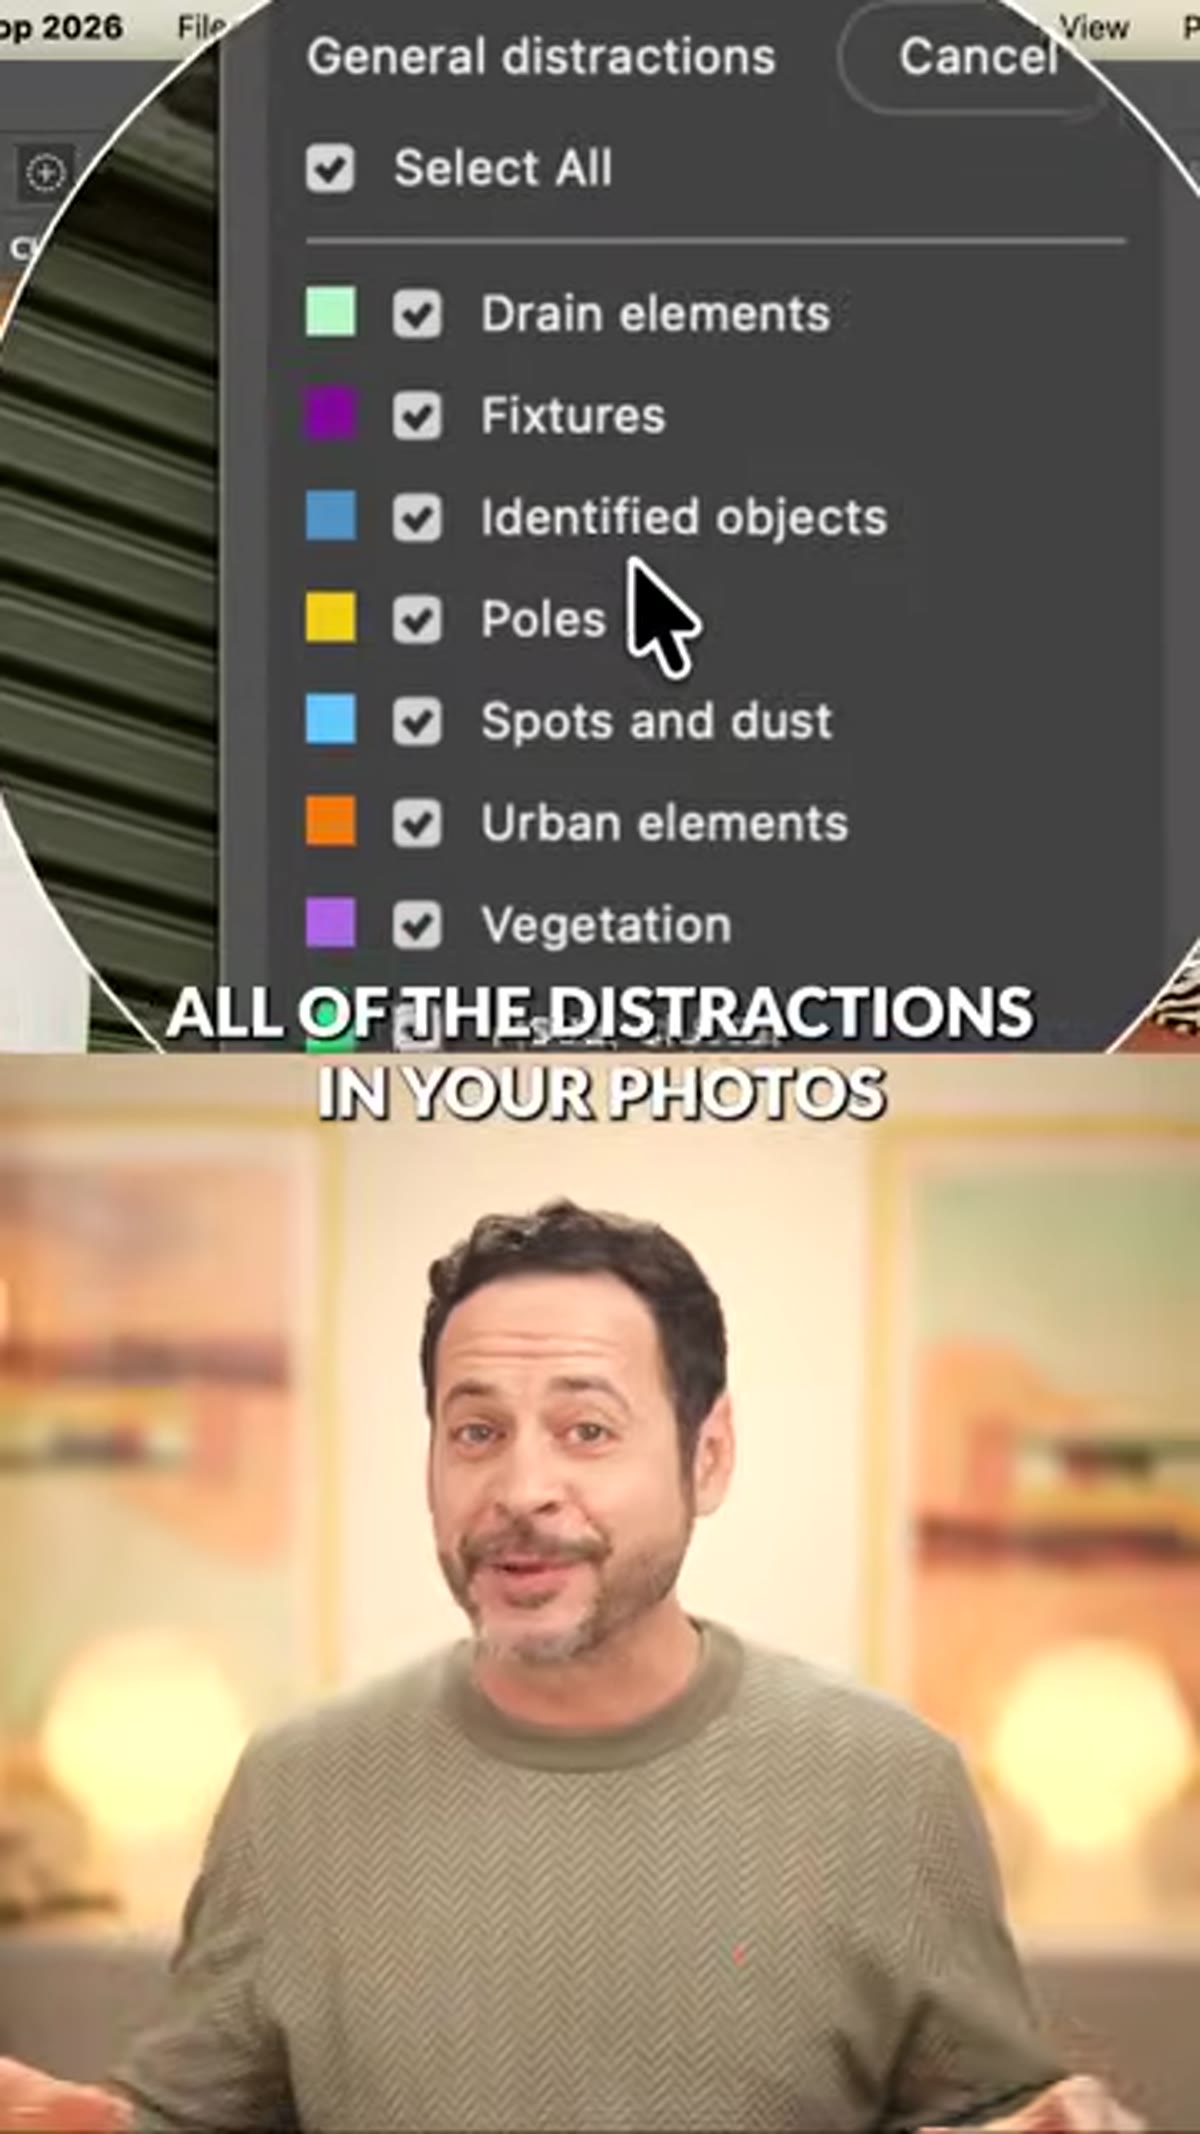 Distractions found and categorized in the photo
Once the scan completes, Photoshop marks the identified distractions with overlays on the canvas. Take a moment to look through what it flagged. In most portrait and lifestyle scenarios it’s remarkably accurate. If something is selected that you want to keep, you can deselect it before proceeding.
Distractions found and categorized in the photo
Once the scan completes, Photoshop marks the identified distractions with overlays on the canvas. Take a moment to look through what it flagged. In most portrait and lifestyle scenarios it’s remarkably accurate. If something is selected that you want to keep, you can deselect it before proceeding.
When you’re satisfied with the selection, click the checkmark to confirm. Photoshop removes everything in one pass, filling each area using Content-Aware technology. What used to take me multiple rounds of patch work on a cluttered background is now a single operation. The results aren’t always perfect on complex textures, but for the majority of general distractions in open backgrounds, the output is clean enough to use directly.
Step 3: Expand the Canvas with Generative Expand
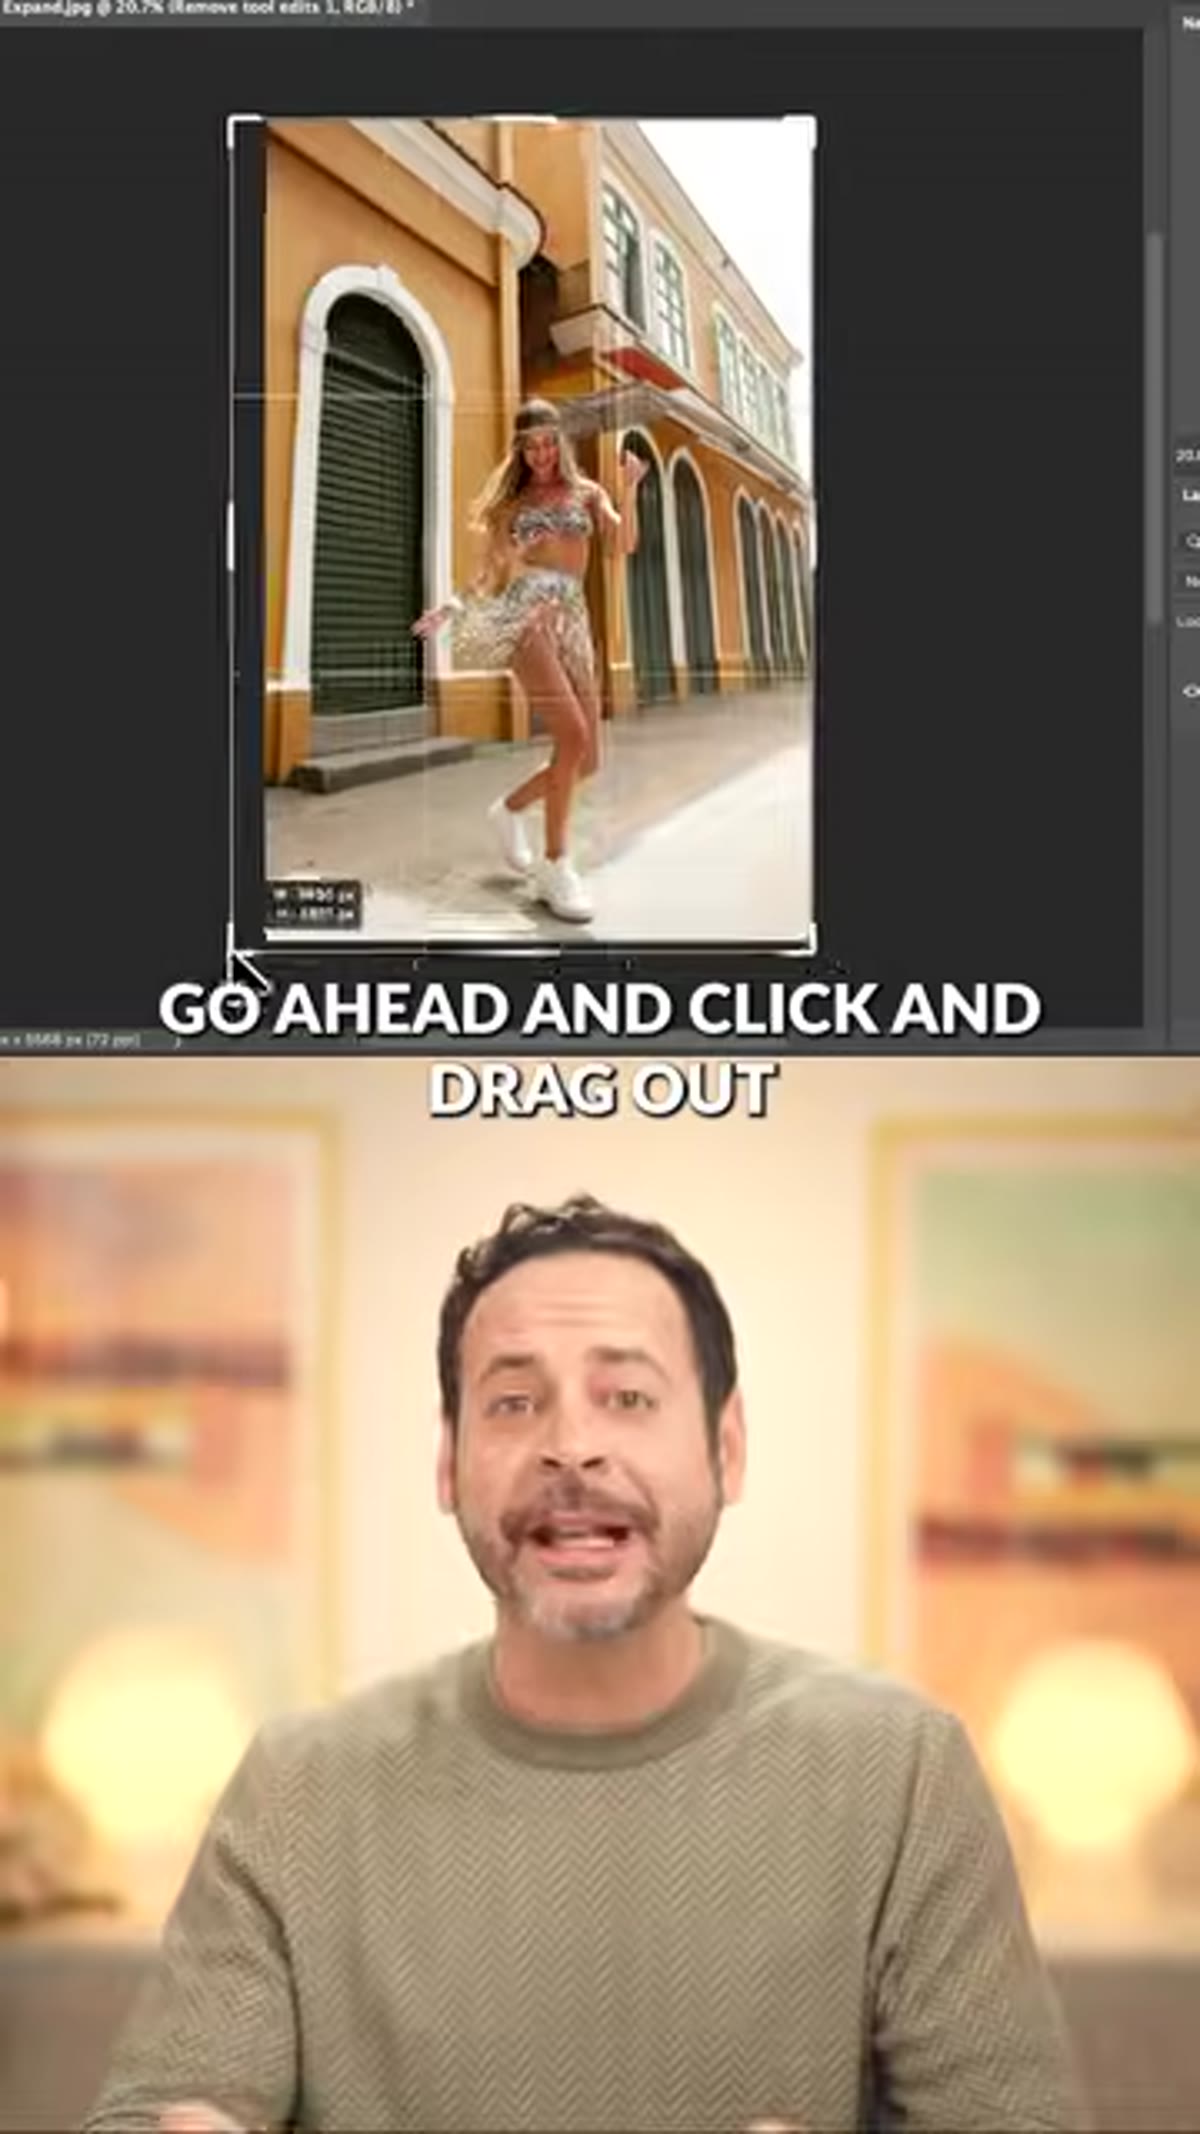 Canvas being dragged outward with Generative Expand option showing
With the distractions gone, the next move is giving the subject more breathing room. Select the Crop tool and drag the crop handles outward beyond the existing image boundary - however much additional canvas your composition needs. Don’t worry that you’re cropping into empty space. That’s the point.
Canvas being dragged outward with Generative Expand option showing
With the distractions gone, the next move is giving the subject more breathing room. Select the Crop tool and drag the crop handles outward beyond the existing image boundary - however much additional canvas your composition needs. Don’t worry that you’re cropping into empty space. That’s the point.
Before committing the crop, click “Generative Expand” in the contextual taskbar. Photoshop uses Adobe Firefly to synthesize new image content that fills the extended canvas, matching the existing scene. You can leave the prompt field blank and let it infer from context, or add a short text description if you want to guide the output. Hit Generate, review the variations it offers, and select the one that reads most naturally. This is especially useful for vertical-to-horizontal conversions or when a subject is sitting too tight to one edge.
Step 4: Open the Image in Adobe Camera Raw
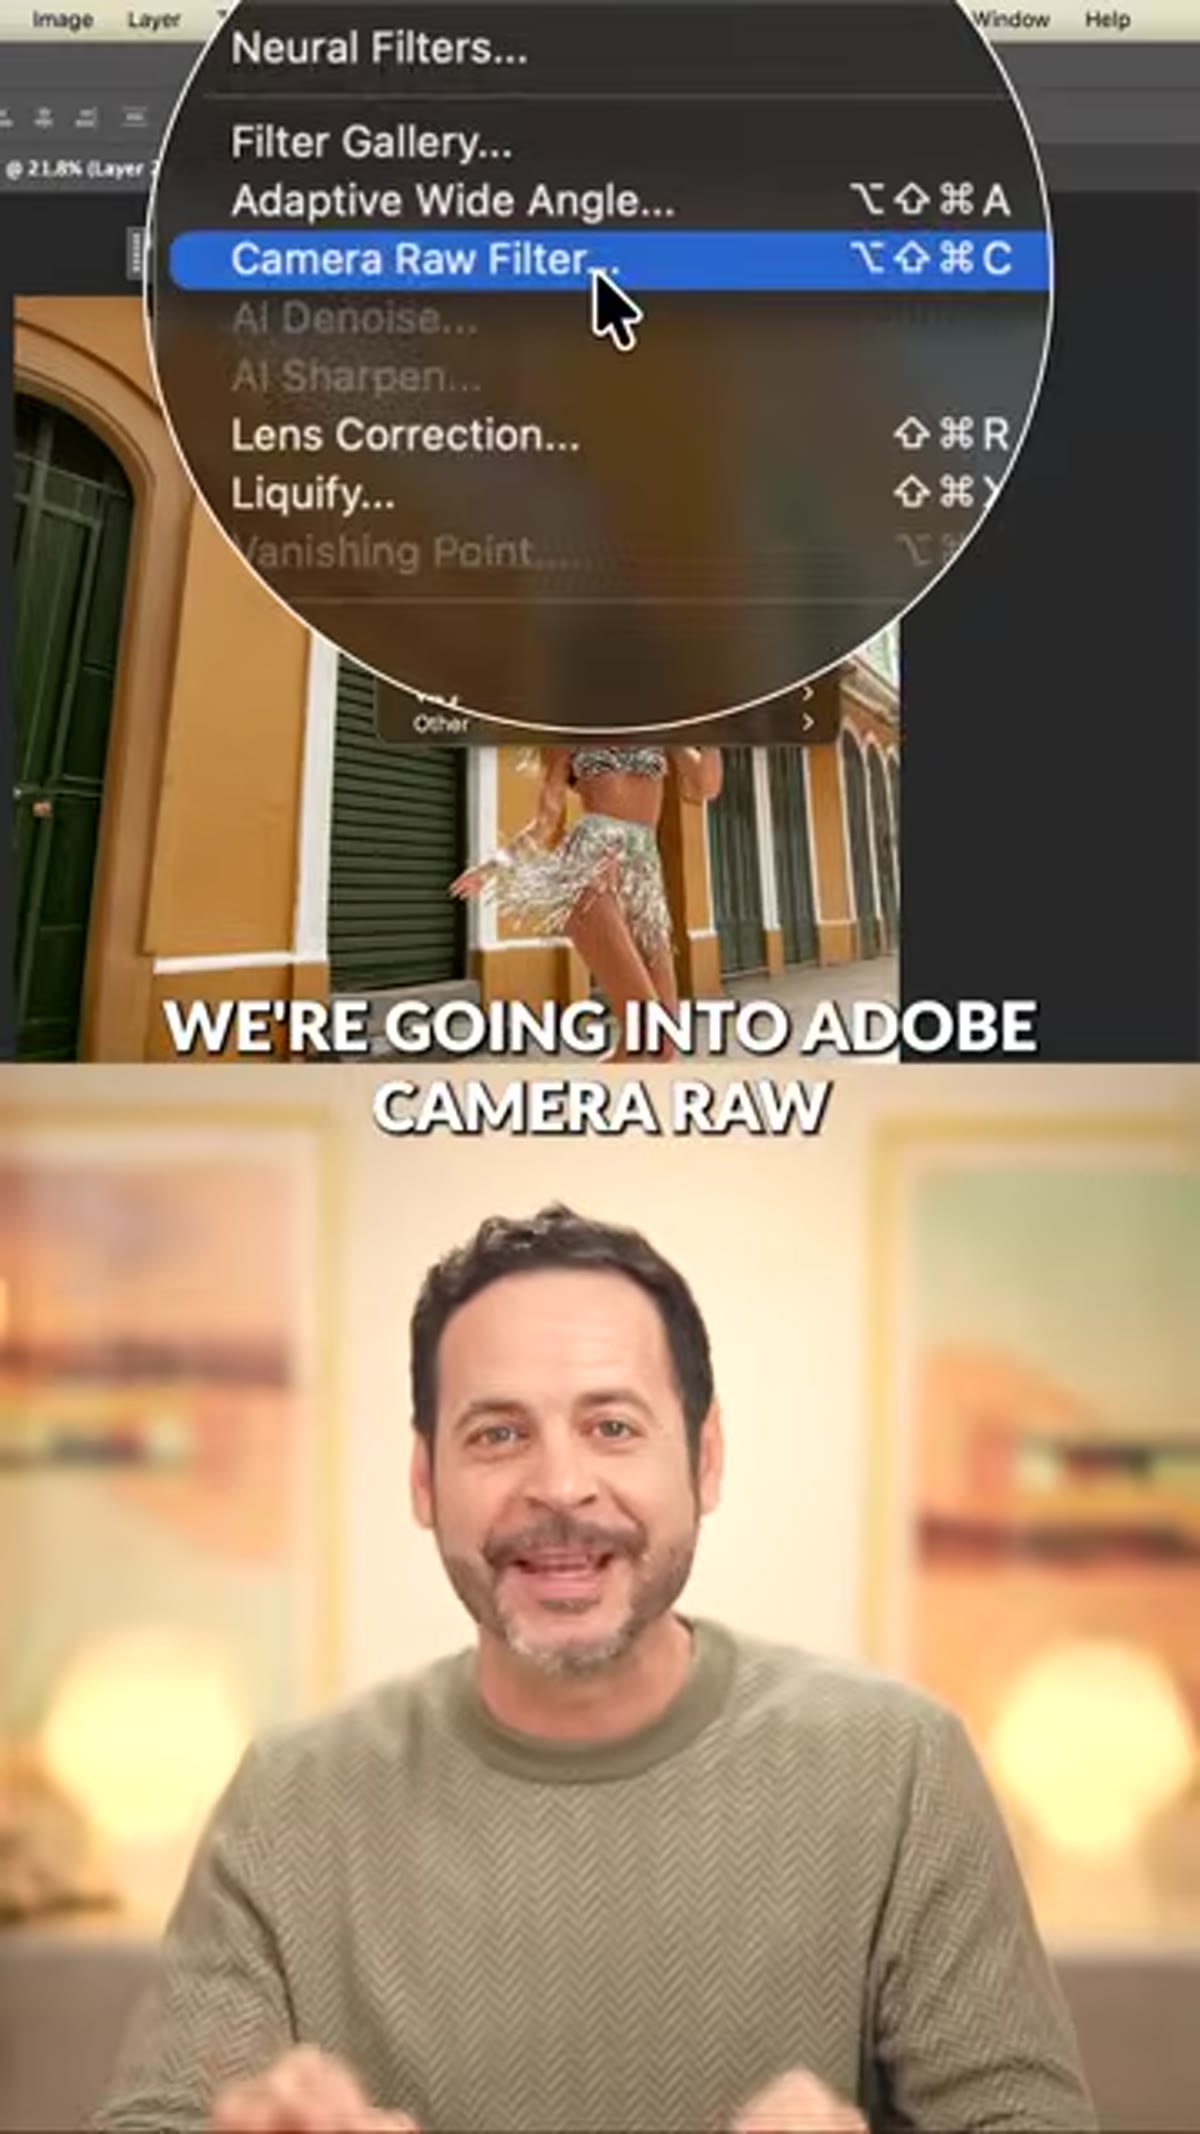 Image open in Adobe Camera Raw interface
Once the structural edit is done, right-click the layer and choose “Convert to Smart Object,” then go to Filter > Camera Raw Filter. This opens the full Adobe Camera Raw interface as a non-destructive filter, which means you can revisit any of these adjustments later without destructive consequences.
Image open in Adobe Camera Raw interface
Once the structural edit is done, right-click the layer and choose “Convert to Smart Object,” then go to Filter > Camera Raw Filter. This opens the full Adobe Camera Raw interface as a non-destructive filter, which means you can revisit any of these adjustments later without destructive consequences.
Camera Raw is where the image moves from corrected to finished. The global tone and color work happens here, but more importantly for this workflow, the masking tools inside Camera Raw are what give you precise, subject-specific control that a simple Curves layer can’t match.
Step 5: Use Masking to Add a Bright Spot on the Subject
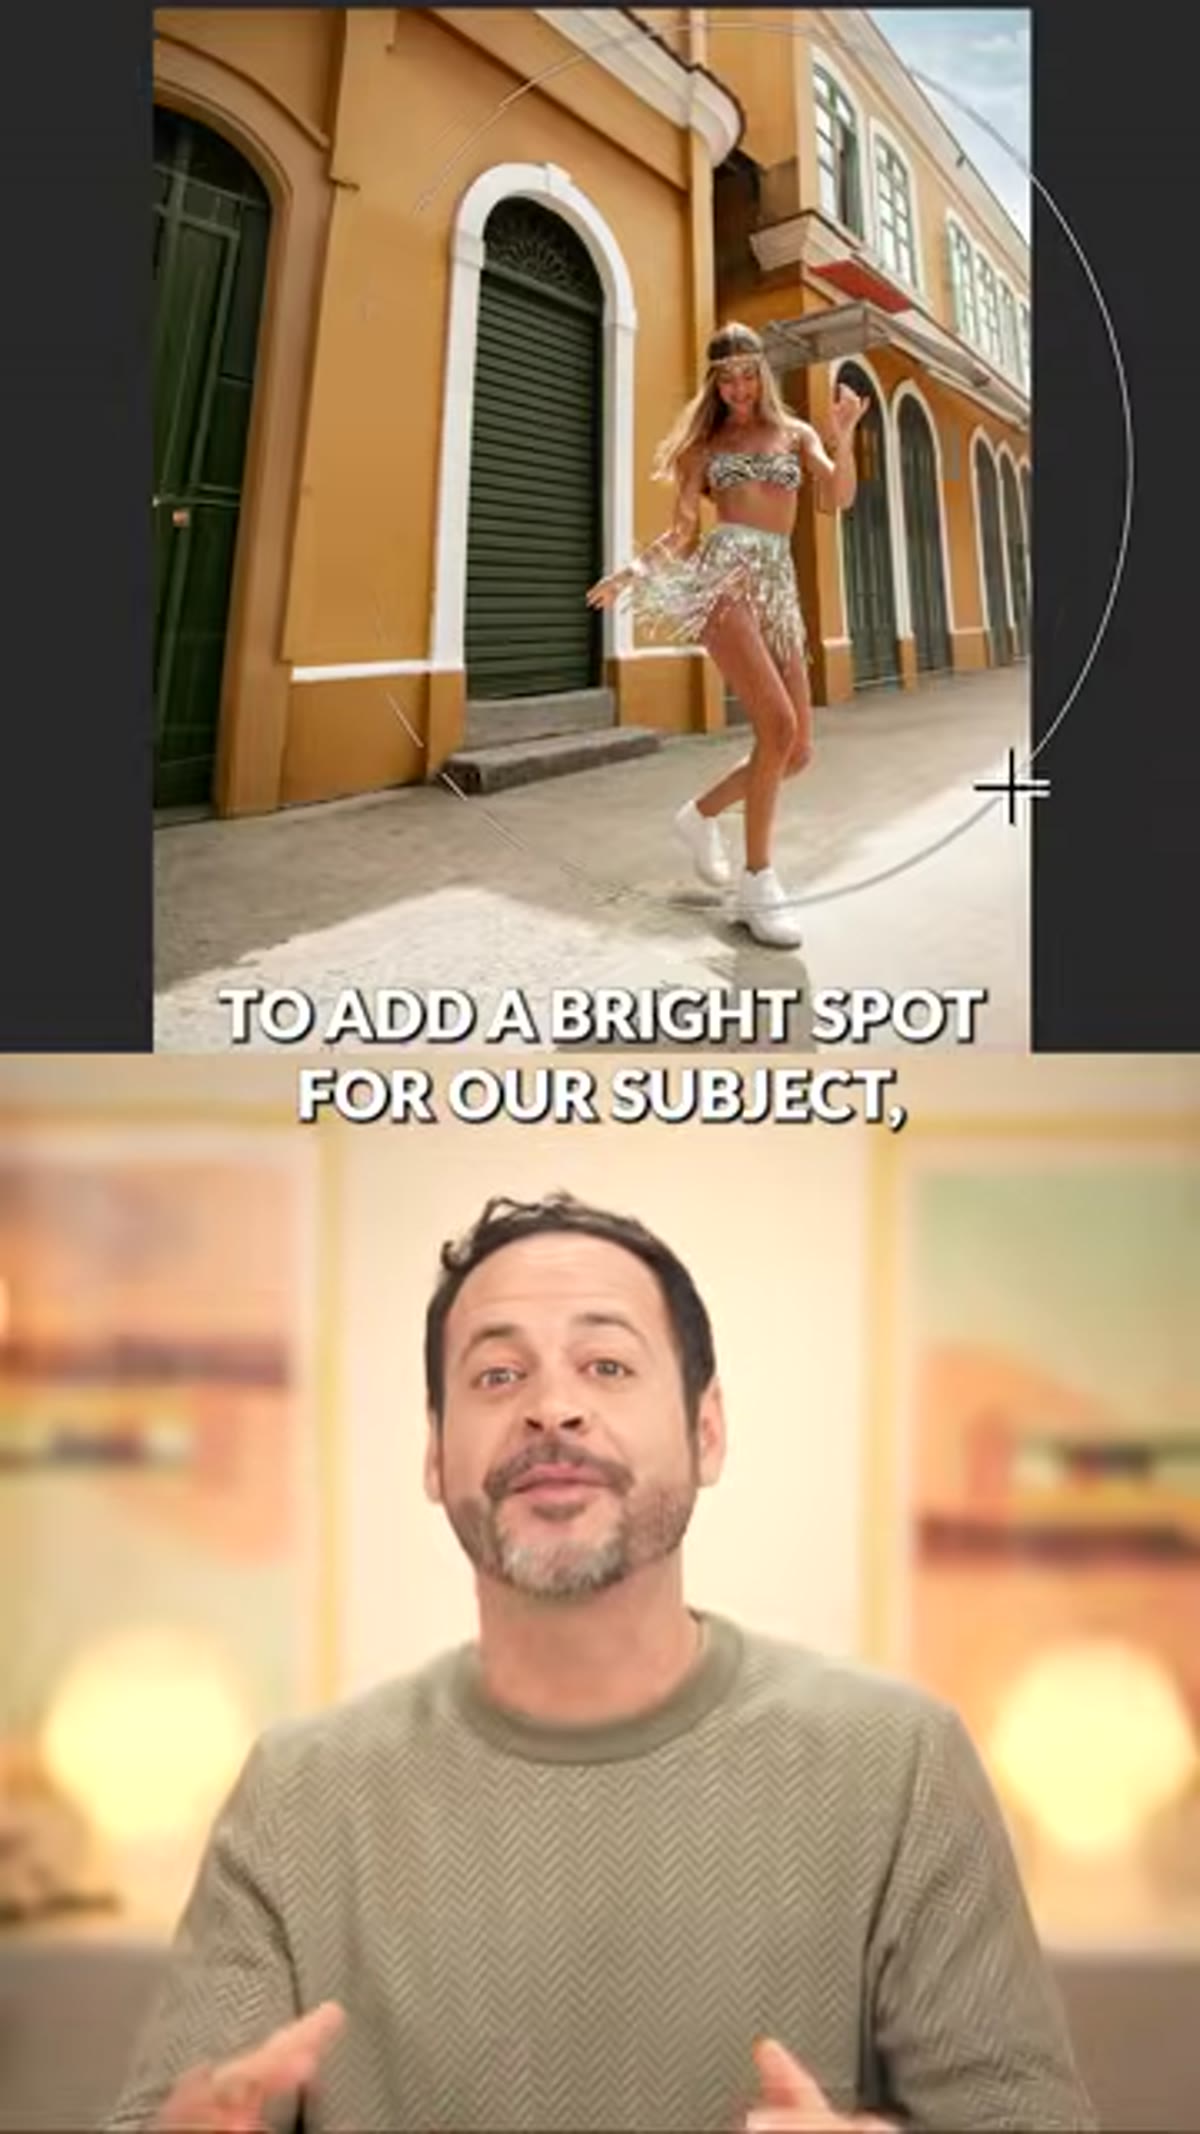 Masking panel open with subject selected in Camera Raw
Inside Camera Raw, navigate to the Masking panel (the icon looks like a circle with a dotted edge). Choose “Select Subject” - Camera Raw will isolate your subject with a fairly clean mask. From here, increase the Exposure slightly and consider a small boost to Highlights or Whites. The goal is to create a subtle luminosity differential between your subject and the background, drawing the eye forward without making the edit look obvious.
Masking panel open with subject selected in Camera Raw
Inside Camera Raw, navigate to the Masking panel (the icon looks like a circle with a dotted edge). Choose “Select Subject” - Camera Raw will isolate your subject with a fairly clean mask. From here, increase the Exposure slightly and consider a small boost to Highlights or Whites. The goal is to create a subtle luminosity differential between your subject and the background, drawing the eye forward without making the edit look obvious.
This technique works because viewers are naturally drawn to the brightest area of an image. You’re not faking light, you’re reinforcing a direction the light was already suggesting. On commercial work I use a variation of this on almost every portrait-style product shot.
Step 6: Apply Lens Blur to Separate Subject from Background
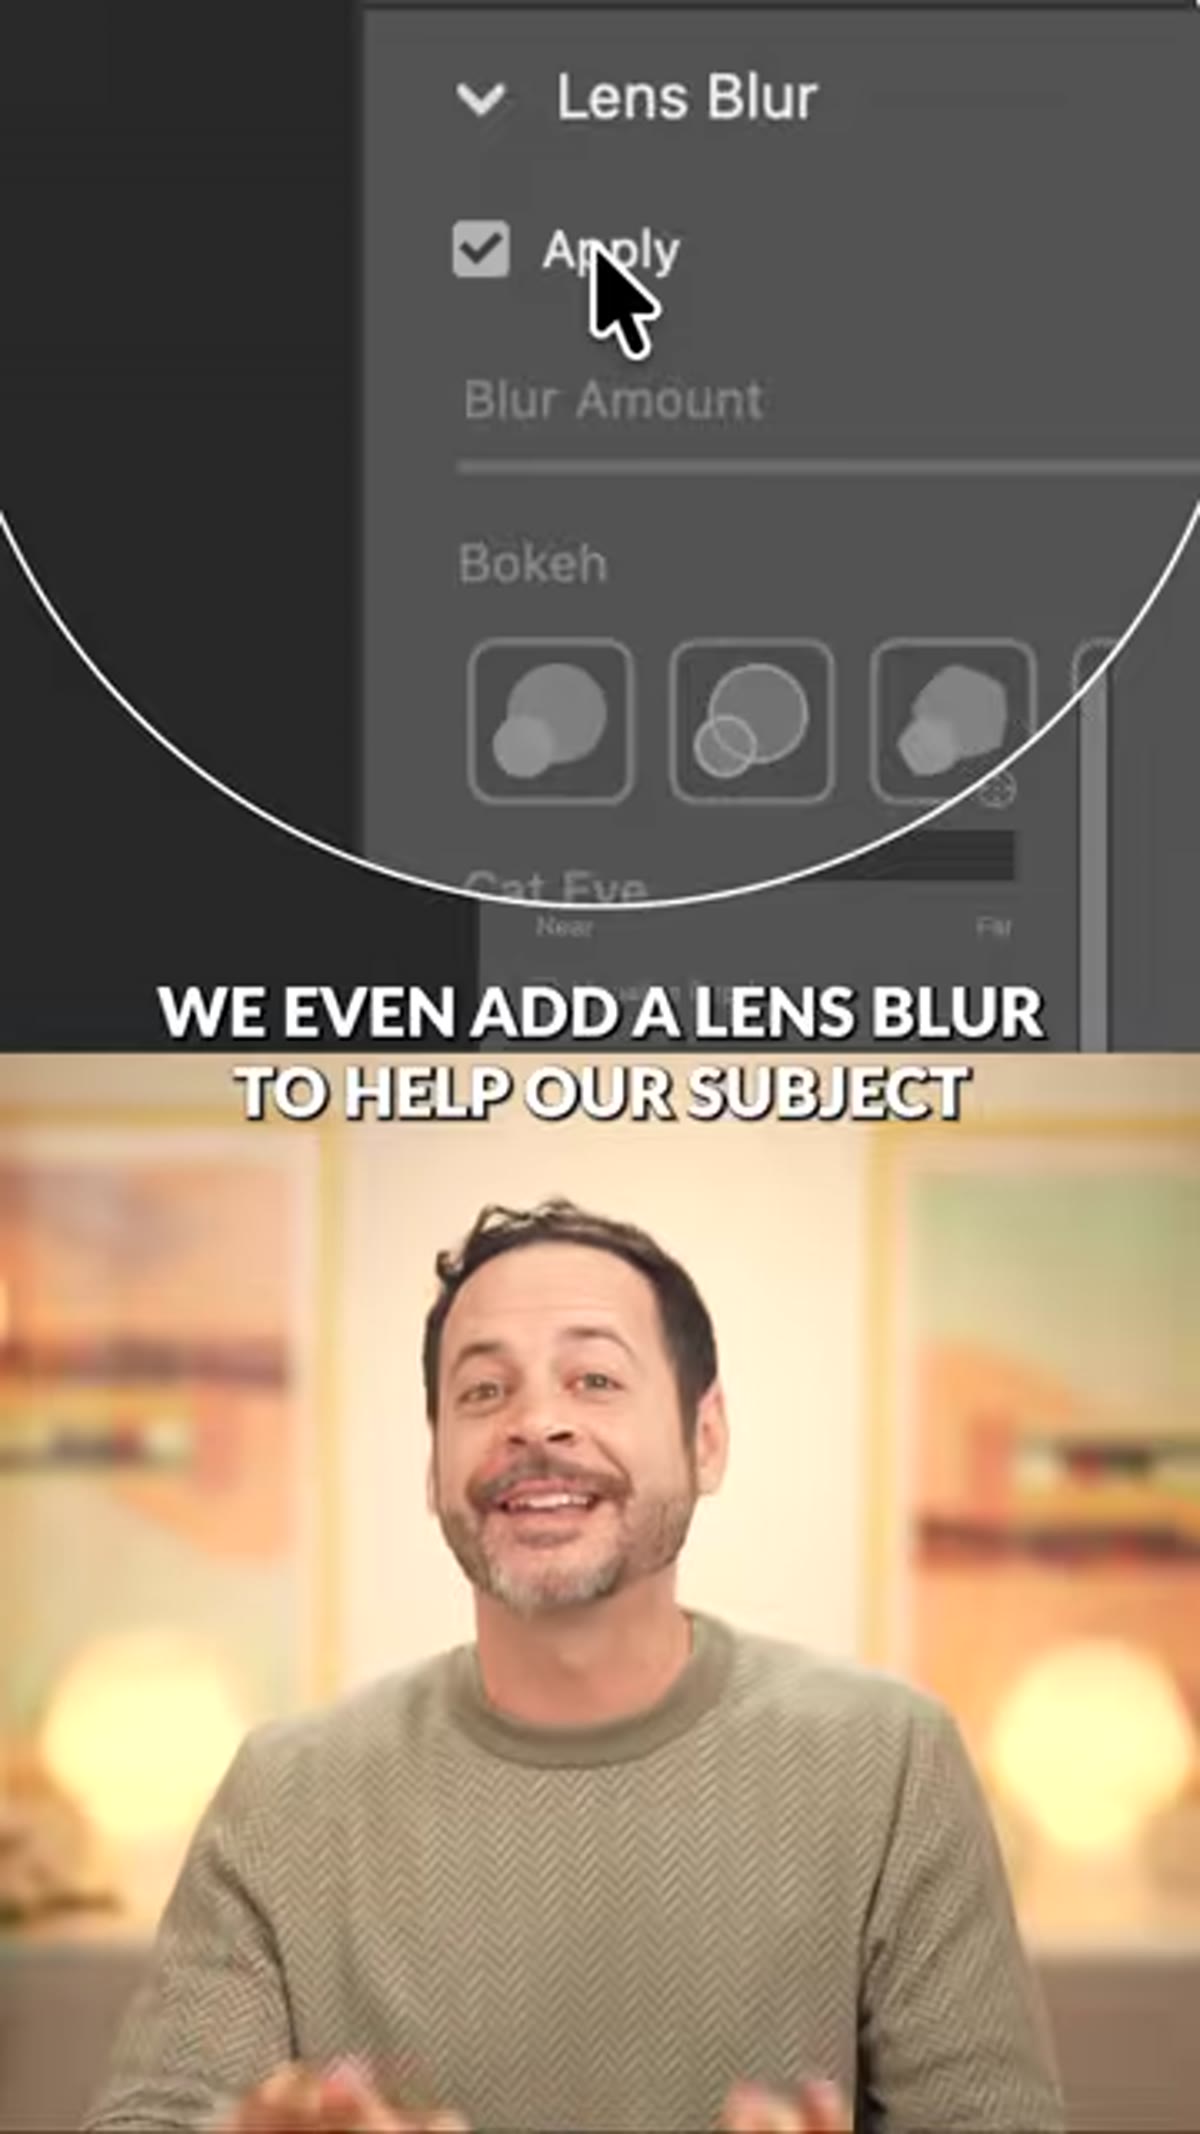 Lens blur being applied to background in Camera Raw
Still inside Camera Raw, return to the Masking panel and this time create a second mask using “Select Background” - or invert your subject mask. With the background isolated, find the Lens Blur slider in the Detail section (in newer Camera Raw versions it has its own dedicated panel). Pull the blur up gradually. The AI-driven depth estimation in Camera Raw’s Lens Blur is noticeably better than a simple Gaussian blur applied to a rough selection. It respects depth transitions and produces a falloff that reads as optical.
Lens blur being applied to background in Camera Raw
Still inside Camera Raw, return to the Masking panel and this time create a second mask using “Select Background” - or invert your subject mask. With the background isolated, find the Lens Blur slider in the Detail section (in newer Camera Raw versions it has its own dedicated panel). Pull the blur up gradually. The AI-driven depth estimation in Camera Raw’s Lens Blur is noticeably better than a simple Gaussian blur applied to a rough selection. It respects depth transitions and produces a falloff that reads as optical.
The combination of brightening the subject and softening the background amplifies the separation created by both. Either technique alone is useful. Together they compound.
What I’d Add for Production Work
The one thing missing from a two-minute tutorial is batch context. This three-step pipeline - remove, expand, finish in Camera Raw - maps cleanly to a Photoshop Action for everything except the AI-dependent steps. Generative Expand and the Remove tool’s auto-scan require human review by definition, but the Camera Raw adjustments, the masking calls, and even the Crop tool setup can all be recorded.
My approach on series work is to build a “setup action” that opens Camera Raw as a Smart Filter and records my baseline masking configuration, then I take manual control for the subject-specific exposure tweaks. It’s not full automation, but it eliminates probably a third of the repetitive clicks per image. On a 50-image lifestyle shoot that adds up to something real.
The core insight from this tutorial is that the sequence matters as much as the tools. Remove the distractions first while the background is intact and readable - the AI needs that context to fill convincingly. Expand the canvas second, while the clean background gives Generative Expand the most consistent source material to work from. Finish in Camera Raw last, when the composition is locked and you know exactly where to direct the viewer’s eye.
Watch the full tutorial on YouTube to see the before-and-after and follow along with PHLEARN’s sample files.
Comments (4)
Great breakdown. The step-by-step approach really helps.
My workflow just got 10x faster. Not even kidding.
Love how you break down complex stuff into manageable steps.
Wow, I had no idea you could do this. Mind blown.
Leave a Comment