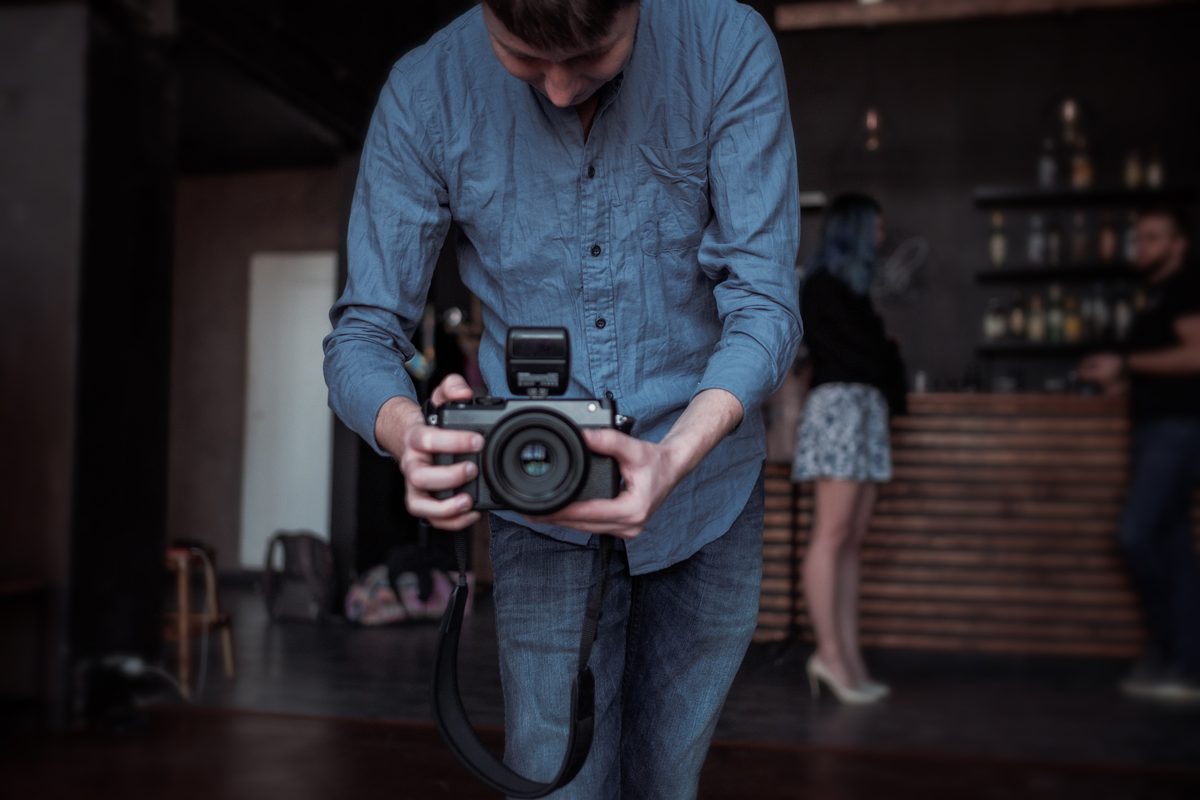
Client calls me last spring asking if I can restore a handful of old family photos for a campaign about heritage and legacy. The images are small, soft, and shot on film sometime in the 1970s. I’ve done this kind of work before, and historically it means a combination of sharpening passes, manual frequency separation, and a lot of squinting. It’s slow. It’s imperfect. And when the client wants a 24x36 print out of a 600-pixel scan, there’s only so much you can do before the physics of resolution just say no.
That problem just got a lot smaller. Watch the full tutorial on YouTube from PHLEARN for a fast, clear walkthrough of Photoshop’s new Generative Upscale feature, which is now live inside Photoshop and does something I genuinely did not expect to work this well: it analyzes your image and reconstructs detail intelligently as it scales up, rather than just interpolating pixels and hoping for the best.
I’ve tested it across a range of images, from old family snapshots to low-resolution product reference shots that clients send me with the note “just make it work.” The results vary depending on which model you choose, and that choice matters more than you’d think. Here’s exactly how to use it.
Step 1: Open Your Image and Navigate to Generative Upscale
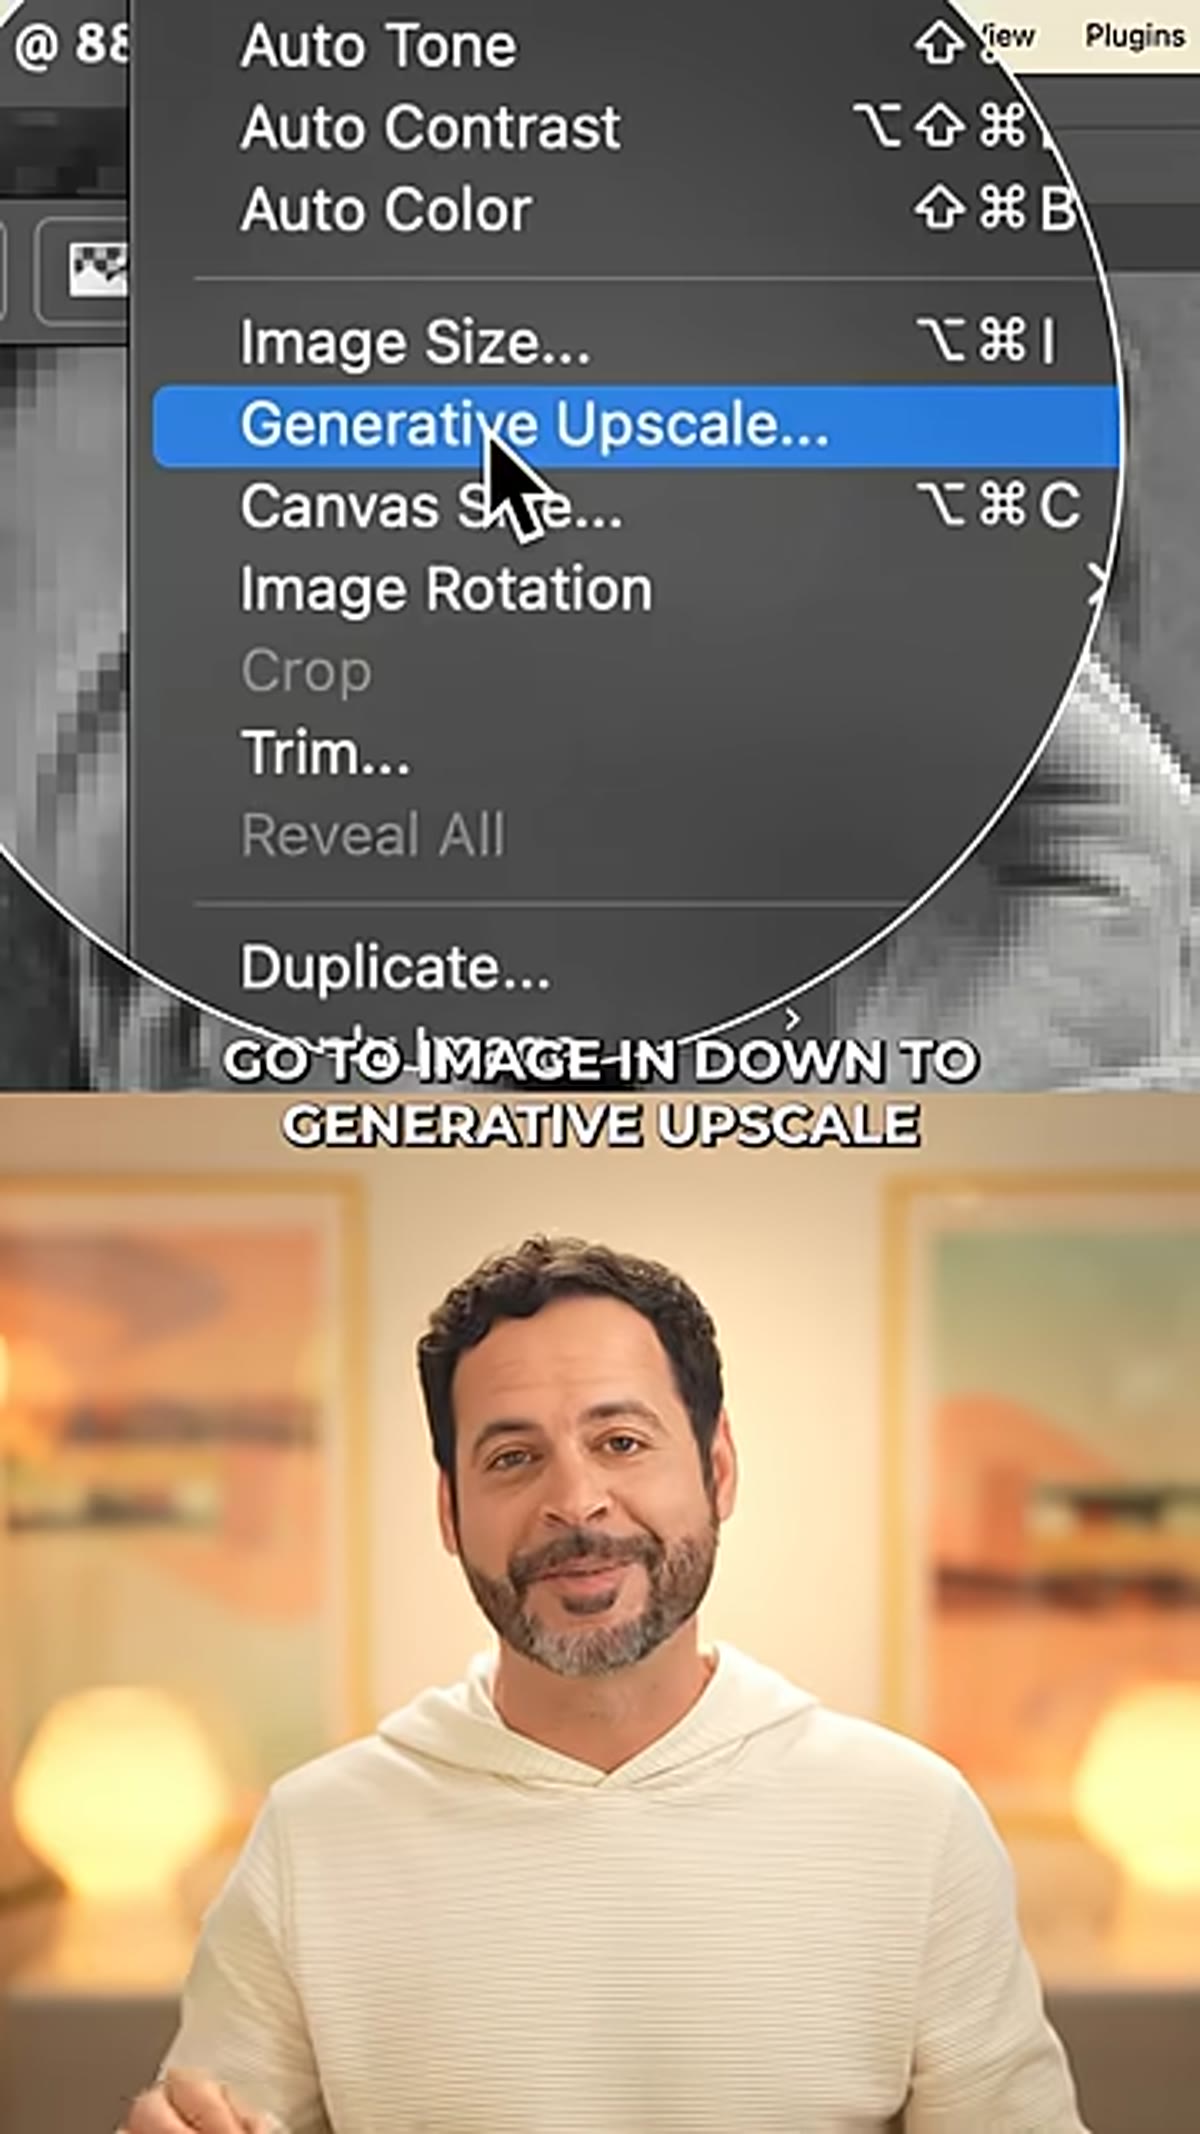 Photoshop Image menu open with Generative Upscale highlighted
Start with your image open in Photoshop. Go to the Image menu at the top of the screen and look for Generative Upscale in the dropdown. This is a new addition to the menu, so if you don’t see it, check that your Photoshop is fully updated to the latest version. Adobe has been rolling features out in stages, and Generative Upscale requires a current build to appear.
Photoshop Image menu open with Generative Upscale highlighted
Start with your image open in Photoshop. Go to the Image menu at the top of the screen and look for Generative Upscale in the dropdown. This is a new addition to the menu, so if you don’t see it, check that your Photoshop is fully updated to the latest version. Adobe has been rolling features out in stages, and Generative Upscale requires a current build to appear.
You don’t need to do any prep work before you open the dialog. No flattening, no resizing, no sharpening first. The feature works directly on whatever image state you’re starting from.
Step 2: Choose Your Upscale Model
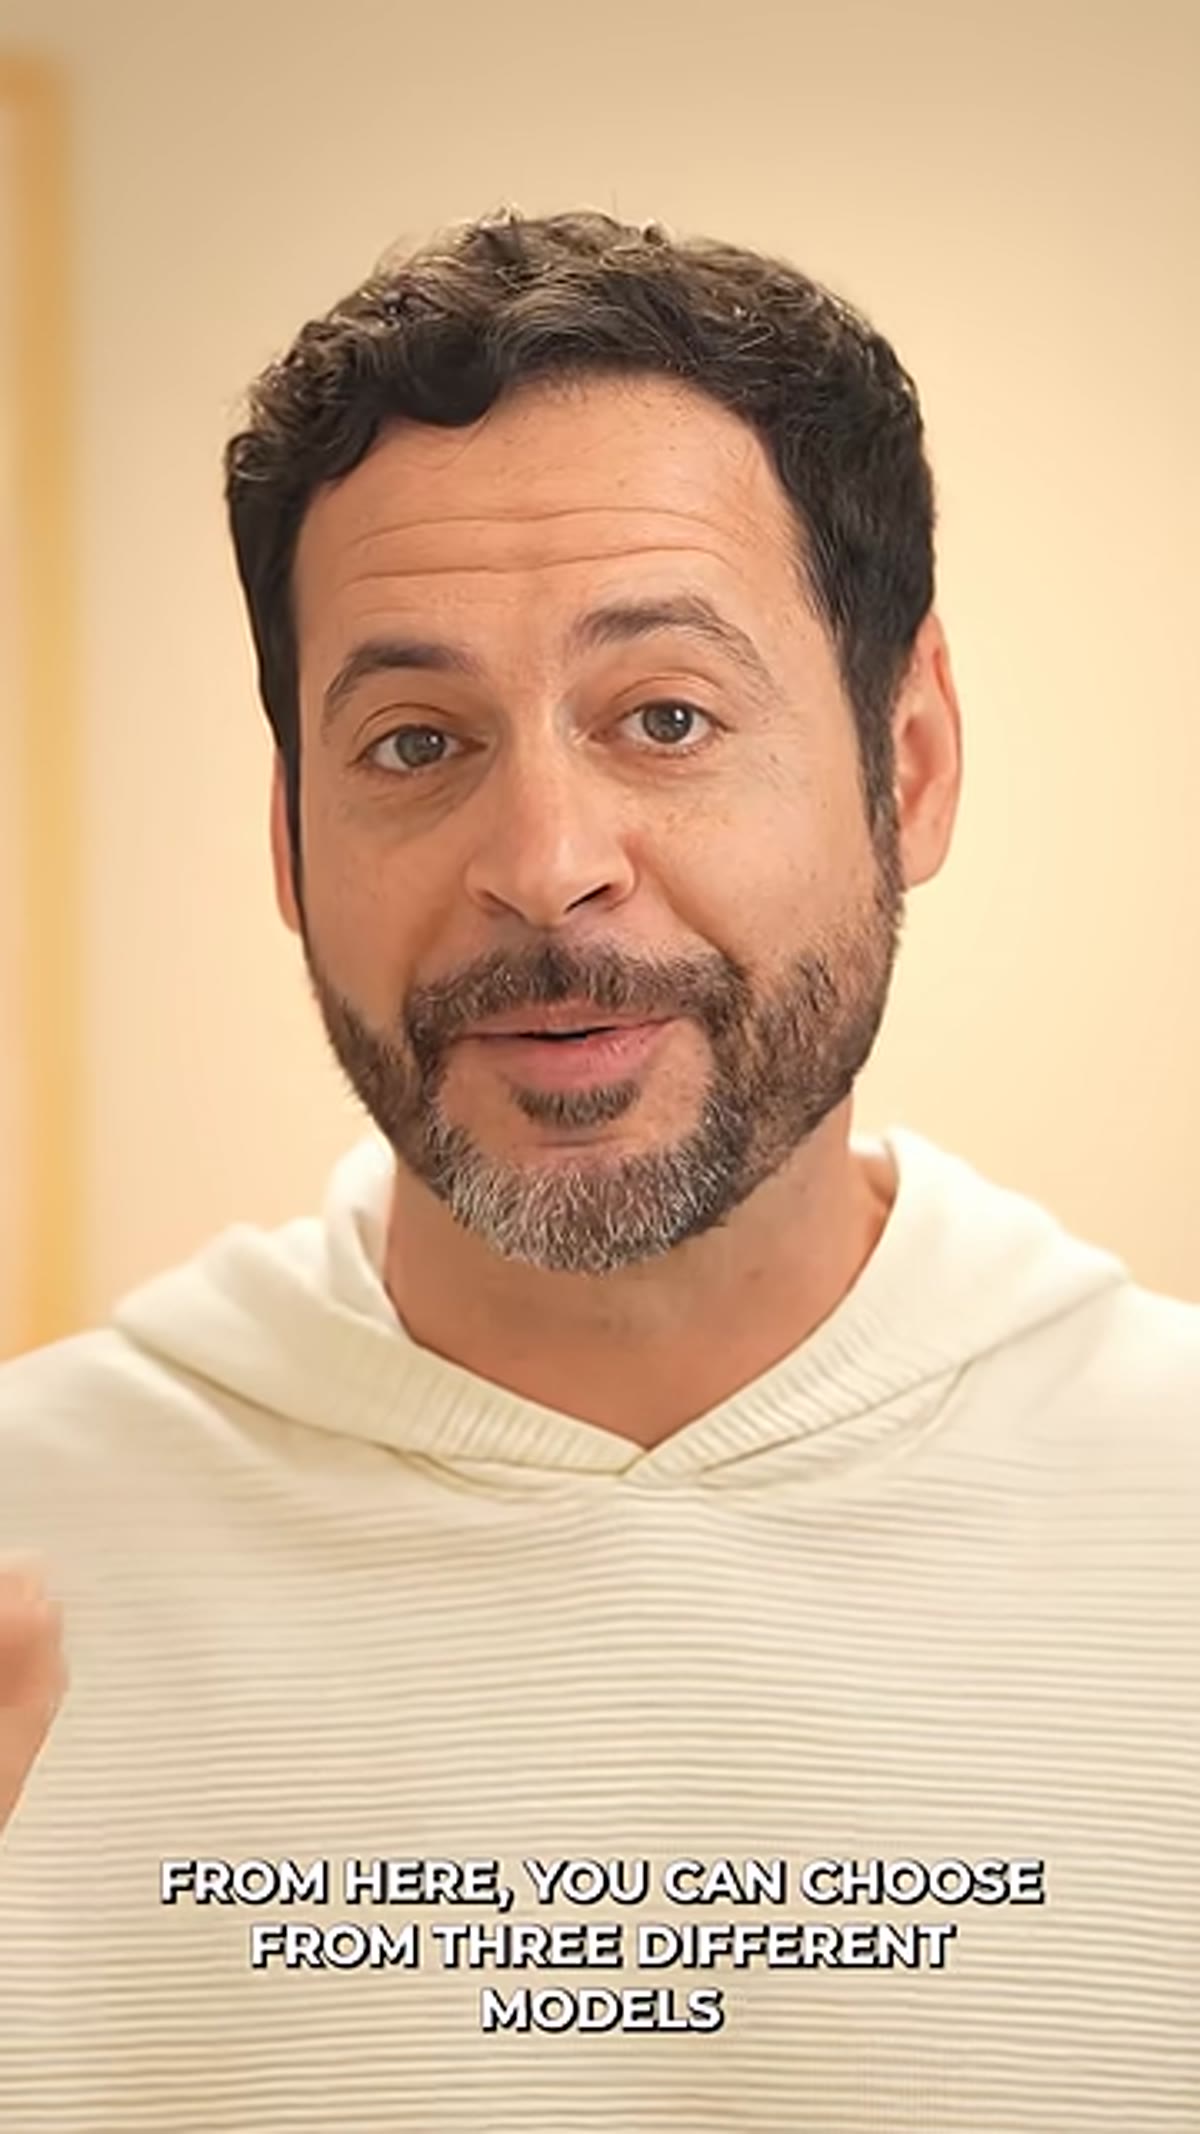 Generative Upscale dialog showing three model options listed
Once the dialog opens, you’ll see three model options: Adobe Firefly’s upscaler, Topaz Gigapixel, and Topaz Bloom. This is the decision that determines your results, so don’t just leave it on the default.
Generative Upscale dialog showing three model options listed
Once the dialog opens, you’ll see three model options: Adobe Firefly’s upscaler, Topaz Gigapixel, and Topaz Bloom. This is the decision that determines your results, so don’t just leave it on the default.
The PHLEARN tutorial is direct about the hierarchy here, and after running my own tests I agree completely. Topaz Gigapixel is the standout. It reconstructs fine detail in a way that feels photographic rather than synthetic. The Firefly upscaler produces acceptable results but noticeably softer edges on the kind of older images where you need the most help. Topaz Bloom is a different beast entirely, it tends to reinterpret the image rather than restore it, which might have creative uses but isn’t what you want when your goal is fidelity to the original.
Step 3: Set Your Scale Factor
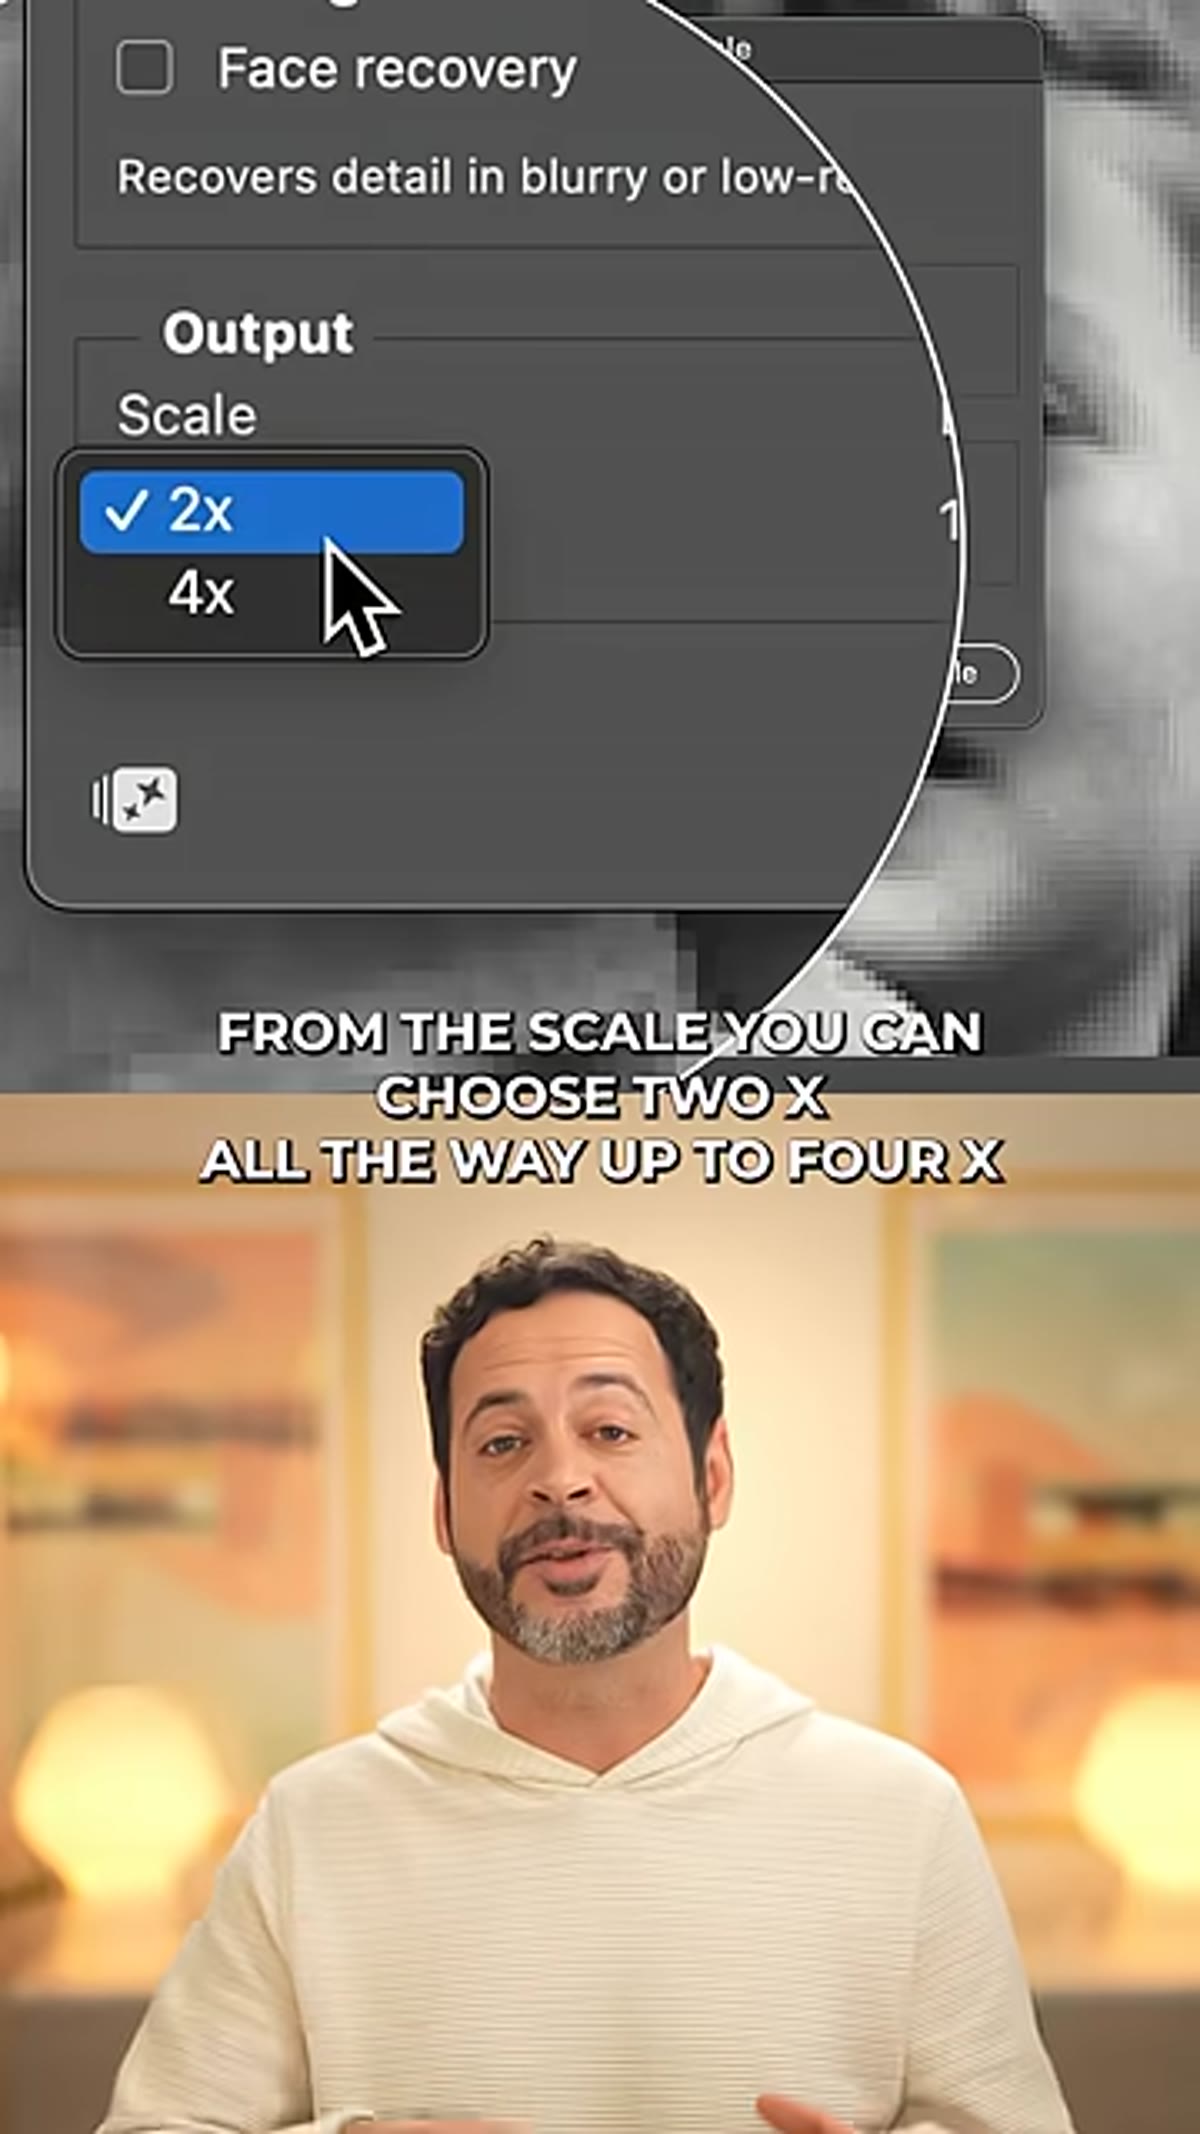 Scale dropdown showing 2x through 4x options in the dialog
Below the model selector, you’ll find the scale options ranging from 2x up to 4x. The tutorial recommends 4x, and from a print-production standpoint, I think that’s right for most use cases involving vintage or low-resolution source material.
Scale dropdown showing 2x through 4x options in the dialog
Below the model selector, you’ll find the scale options ranging from 2x up to 4x. The tutorial recommends 4x, and from a print-production standpoint, I think that’s right for most use cases involving vintage or low-resolution source material.
If you’re working with a photo that’s already reasonably large and just needs a boost for a specific output size, 2x may be all you need. But for anything scanned from a small print, or images that were originally captured on early digital cameras with limited megapixels, go with 4x. You can always scale back down in post if the output is larger than your final destination requires. You cannot go back and add resolution you didn’t generate.
Step 4: Run the Upscale and Evaluate the Output
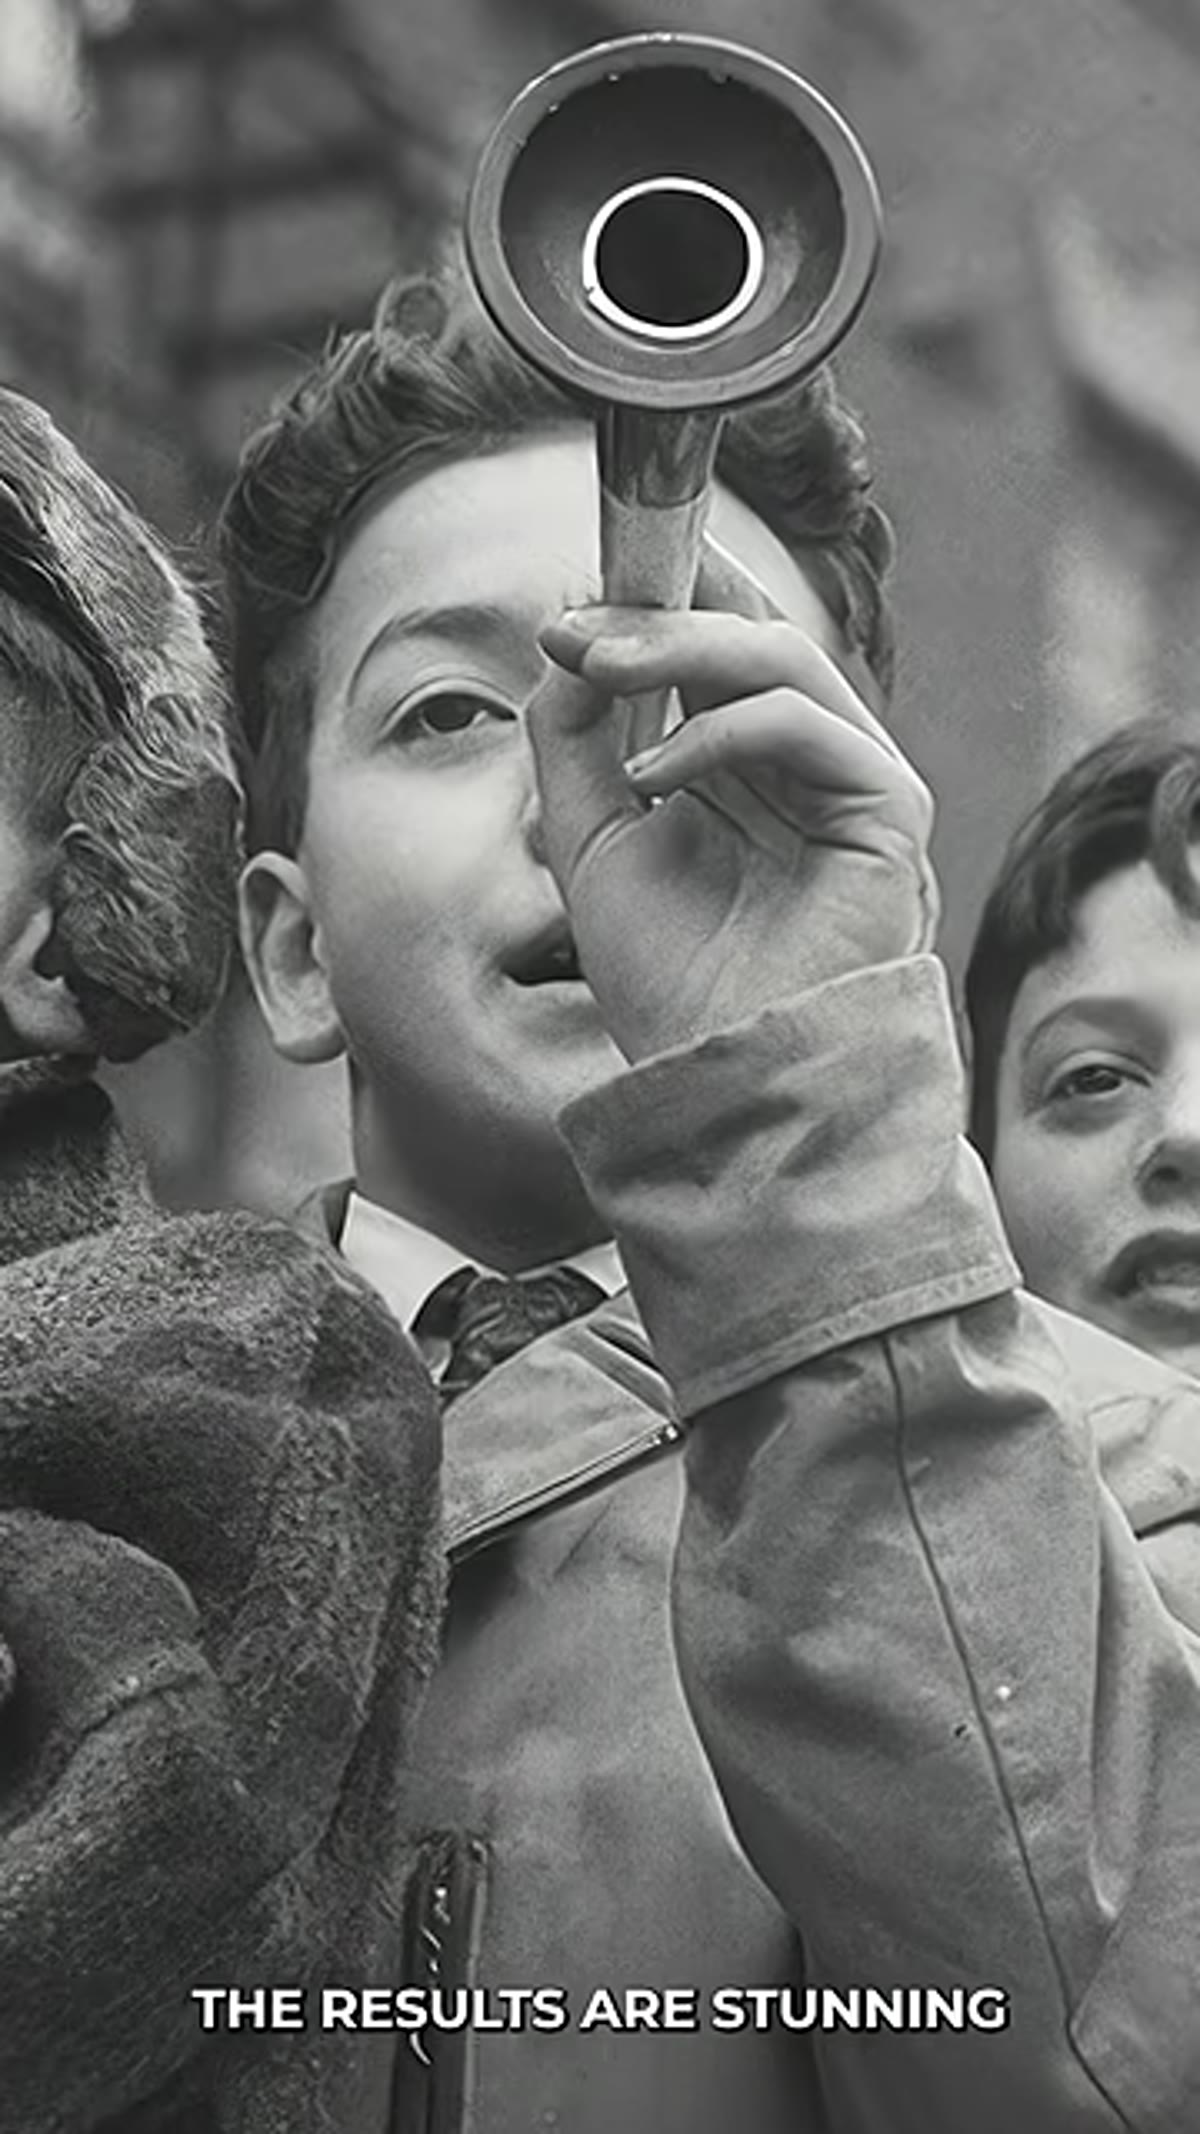 Before and after comparison showing restored detail in upscaled image
With your model set to Topaz Gigapixel and your scale at 4x, click to run the process. Depending on your system specs and the size of your source image, this will take somewhere between a few seconds and a couple of minutes. Photoshop handles the processing without leaving the application, which keeps your workflow clean.
Before and after comparison showing restored detail in upscaled image
With your model set to Topaz Gigapixel and your scale at 4x, click to run the process. Depending on your system specs and the size of your source image, this will take somewhere between a few seconds and a couple of minutes. Photoshop handles the processing without leaving the application, which keeps your workflow clean.
When the result comes back, zoom in to 100% and compare it directly against the original. Look at edges, look at fine texture areas like fabric or hair, and look at any text or graphic elements in the frame if they exist. Gigapixel consistently holds those areas better than the other models in my tests. The difference between a good upscale and a mediocre one becomes very obvious at 100% view, even if both results look passable at thumbnail size.
Step 5: Factor In the Credit Cost Before You Batch
 Tutorial screen noting the current no-credit window for the feature
For now, Generative Upscale does not consume your generative AI credits inside Adobe’s system. That window is temporary and closes at the start of the new year, after which each upscale will draw from your credit balance.
Tutorial screen noting the current no-credit window for the feature
For now, Generative Upscale does not consume your generative AI credits inside Adobe’s system. That window is temporary and closes at the start of the new year, after which each upscale will draw from your credit balance.
If you’re sitting on a backlog of images you’ve been meaning to restore, now is the time to process them. I’m not usually one to rush workflow decisions based on promotional windows, but this is a genuine cost consideration, especially if you’re doing restoration work at volume. Run your most important images through now. Build a batch queue if you have multiple files. The feature itself isn’t going anywhere, but the free access is.
A Note From My Own Testing: This Changes the Archive Conversation
I’ve spent years telling clients that certain old images simply can’t be saved for large-format use. That conversation is different now. I ran a 640x480 JPEG through Generative Upscale at 4x with Topaz Gigapixel and came out with a file that held up at 24 inches wide in print. Not perfectly, and I still did a light sharpening pass afterward, but it crossed the threshold from “unusable for print” to “actually workable.”
The practical implication for anyone doing client work is that you can now revisit assets that were previously written off. Old campaign images, archival brand photography, scanned prints from before the digital era. Clients often have more of this material than they realize, and most of it has been sitting in folders labeled “old stuff” precisely because nobody thought it could be scaled up. Worth a conversation.
One honest caveat: Generative Upscale is not a substitute for a clean source file. If your original is heavily compressed with significant JPEG artifacting, the upscale will amplify some of that before it reconstructs. Run a light noise reduction pass on heavily degraded files before you upscale for best results.
The single most important thing I took from this tutorial is the model selection. Most people will open the dialog and run whatever the default is. Don’t. Spend thirty seconds switching to Topaz Gigapixel, set the scale to 4x, and you’ll get results that are meaningfully better than the alternative. The difference is not subtle.
Watch the full tutorial on YouTube to see the before-and-after results side by side, which are worth seeing in motion even if the written steps above cover everything you need to get started.
Comments (4)
Hands down the best explanation I've found on this topic.
Solid advice. I'd just add that shooting in RAW makes this ten times easier.
Would love to see a video walkthrough of this process. Any plans for that?
Great point, Carlos Ruiz. I might cover that in a future post.
Leave a Comment