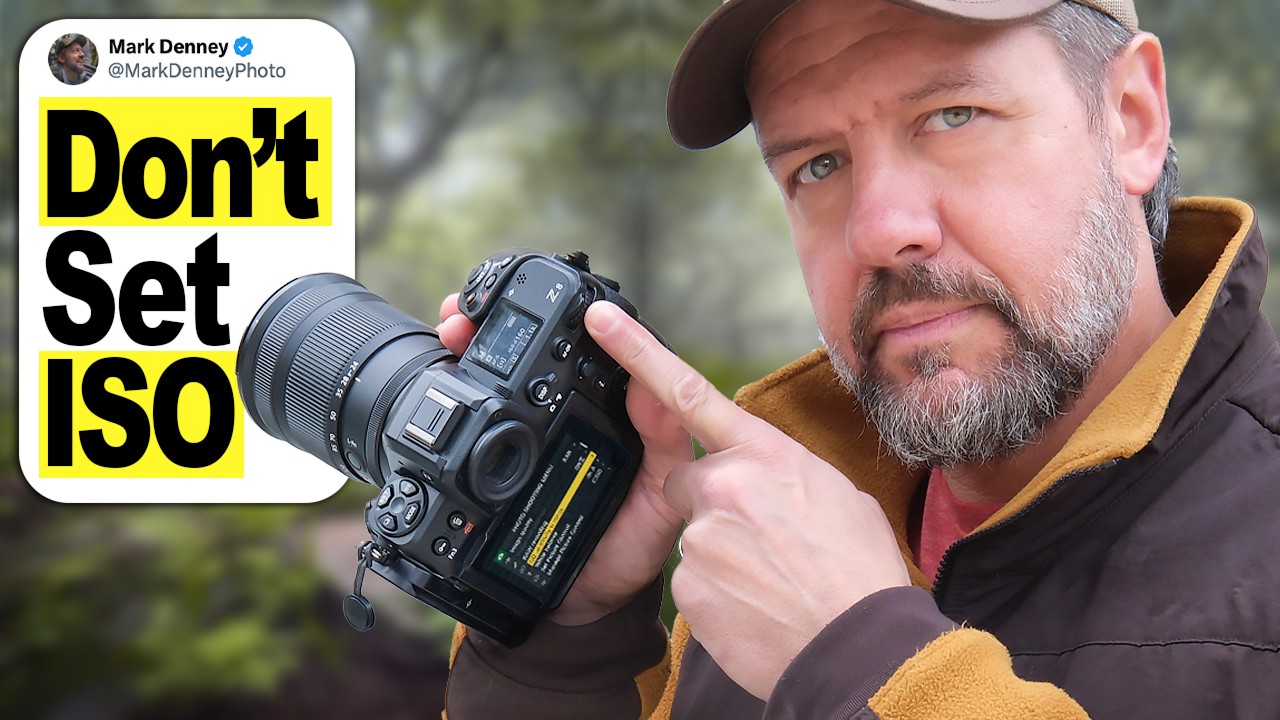
I’ve spent fifteen years in commercial studios where the light is controlled, repeatable, and exactly where you put it. So when I started taking my camera outside, the constantly shifting light genuinely caught me off guard. Not because I didn’t understand exposure, but because I kept rebuilding it from scratch every few minutes like some kind of Groundhog Day nightmare. Adjust ISO, check the meter, tweak again. Meanwhile the shot I actually wanted had already moved on.
That’s why a tutorial from landscape photographer Mark Denney stopped me mid-scroll recently. Watch the full tutorial on YouTube. The setup is deceptively simple: there’s a dial on your camera that’s supposed to control exposure, and most photographers either ignore it completely or have it quietly disabled without realizing it. Once you understand why it’s disabled and how to fix it, the way you handle changing light changes permanently.
The solution isn’t a new camera or a complicated multi-mode setup. It’s one setting change that takes about ten seconds, and it puts the exposure compensation dial back to work while keeping you in full manual control of aperture and shutter speed. Here’s exactly how it works.
Step 1: Confirm That You’re Shooting in Full Manual Mode
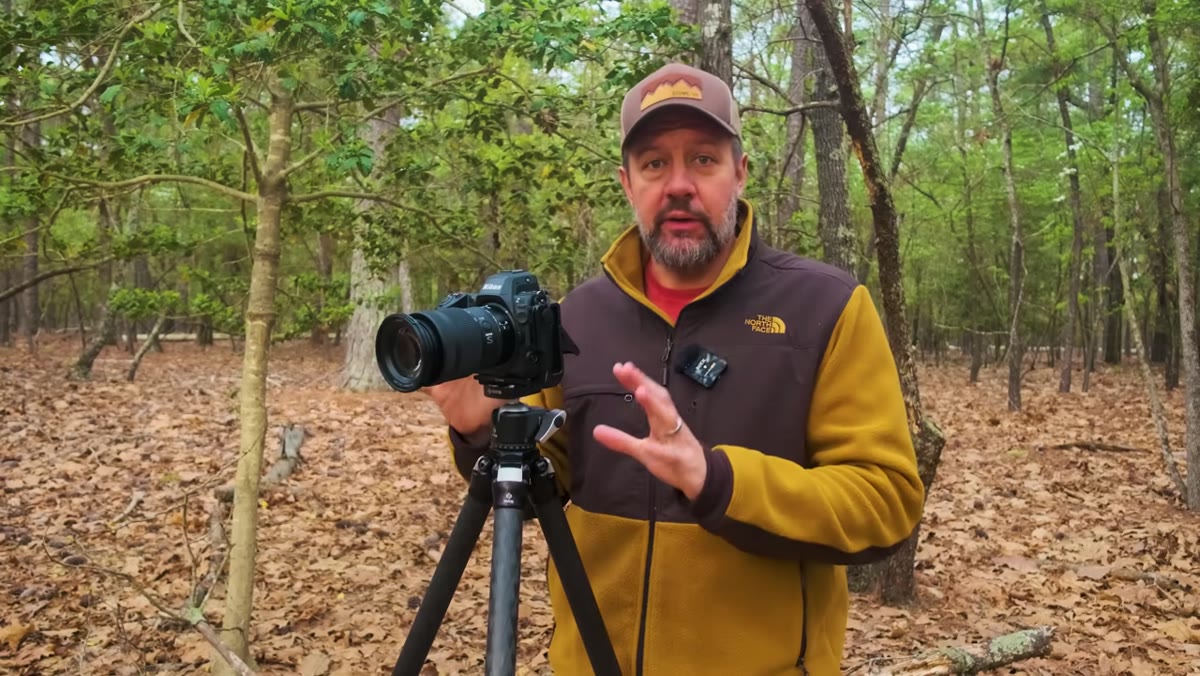 Camera in full manual mode, exposure dial being turned
Start by setting your camera to full manual mode (M on the mode dial). This is where most serious landscape photographers and, honestly, most commercial shooters like me prefer to live. You’re locking down aperture for depth of field control and shutter speed for motion control, and nothing is moving without your say-so. That control feels good. The problem, as Denney demonstrates immediately, is that turning the exposure compensation dial in this state does absolutely nothing. Zero. The image doesn’t get brighter, it doesn’t get darker. The dial is alive in name only.
Camera in full manual mode, exposure dial being turned
Start by setting your camera to full manual mode (M on the mode dial). This is where most serious landscape photographers and, honestly, most commercial shooters like me prefer to live. You’re locking down aperture for depth of field control and shutter speed for motion control, and nothing is moving without your say-so. That control feels good. The problem, as Denney demonstrates immediately, is that turning the exposure compensation dial in this state does absolutely nothing. Zero. The image doesn’t get brighter, it doesn’t get darker. The dial is alive in name only.
This is the core tension: manual mode gives you precision, but it effectively locks out one of the most useful controls on the camera. If you’ve ever wondered why that dial seemed pointless, this is why.
Step 2: Identify Your Exposure Compensation Dial
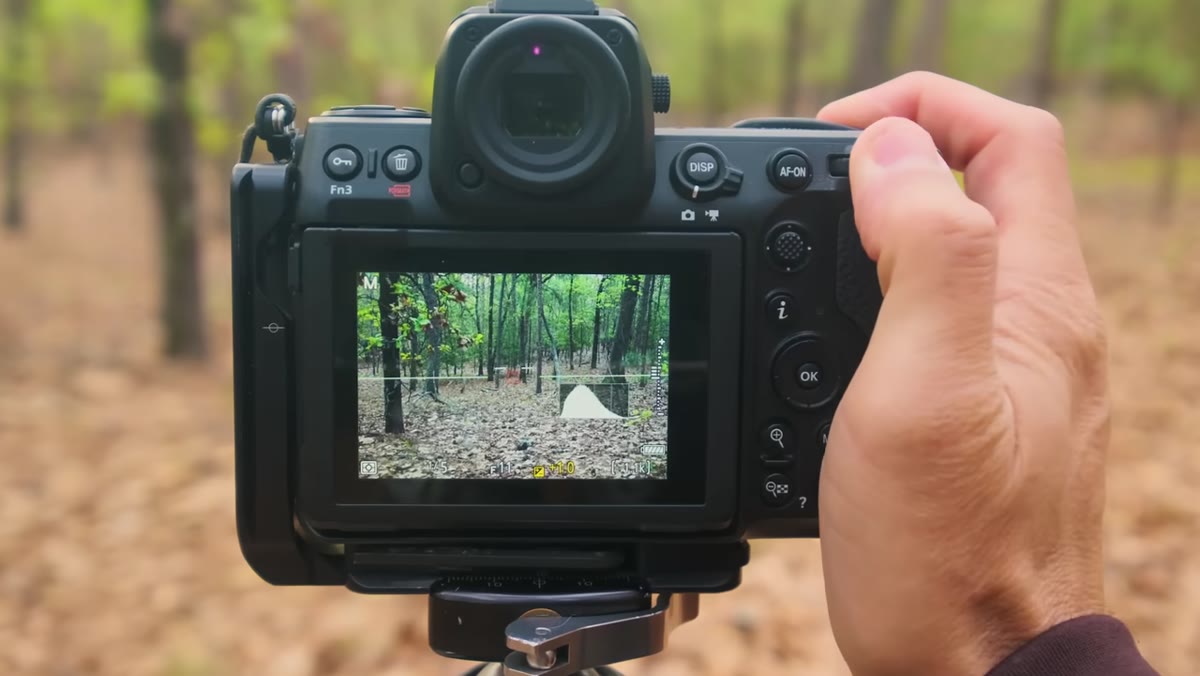 Close-up of the exposure compensation dial on camera body
The exposure compensation dial is typically a dedicated dial or button-plus-dial combo on the top or rear of your camera body. On most DSLRs and mirrorless cameras it’s marked with a plus/minus symbol (+/-). It’s designed to tell the camera “give me more or less exposure than what you’d calculate automatically.” The catch is that it only functions when the camera has at least one setting it’s allowed to adjust automatically. In full manual mode with manual ISO, there’s nothing for it to push or pull, so it sits there doing nothing while you manually roll your ISO every time a cloud moves.
Close-up of the exposure compensation dial on camera body
The exposure compensation dial is typically a dedicated dial or button-plus-dial combo on the top or rear of your camera body. On most DSLRs and mirrorless cameras it’s marked with a plus/minus symbol (+/-). It’s designed to tell the camera “give me more or less exposure than what you’d calculate automatically.” The catch is that it only functions when the camera has at least one setting it’s allowed to adjust automatically. In full manual mode with manual ISO, there’s nothing for it to push or pull, so it sits there doing nothing while you manually roll your ISO every time a cloud moves.
Step 3: Switch ISO From Manual to Auto ISO
 Camera menu showing ISO setting being changed to Auto ISO
Go into your camera’s ISO settings and switch from a fixed ISO value to Auto ISO. The exact menu path varies by manufacturer, but you’re looking for something labeled Auto ISO or ISO Auto in your shooting menu or quick menu. On Sony bodies it’s often in the Exposure menu; on Canon and Nikon it typically lives in the shooting or ISO settings submenu. Once you enable it, the camera now has one variable it’s allowed to manage on its own, which is all it needs.
Camera menu showing ISO setting being changed to Auto ISO
Go into your camera’s ISO settings and switch from a fixed ISO value to Auto ISO. The exact menu path varies by manufacturer, but you’re looking for something labeled Auto ISO or ISO Auto in your shooting menu or quick menu. On Sony bodies it’s often in the Exposure menu; on Canon and Nikon it typically lives in the shooting or ISO settings submenu. Once you enable it, the camera now has one variable it’s allowed to manage on its own, which is all it needs.
This single change is the unlock. Your aperture stays exactly where you set it. Your shutter speed stays exactly where you set it. But now the camera can respond to light changes by nudging ISO up or down, and that gives the exposure compensation dial something to work with.
Step 4: Turn the Exposure Compensation Dial and Watch It Respond
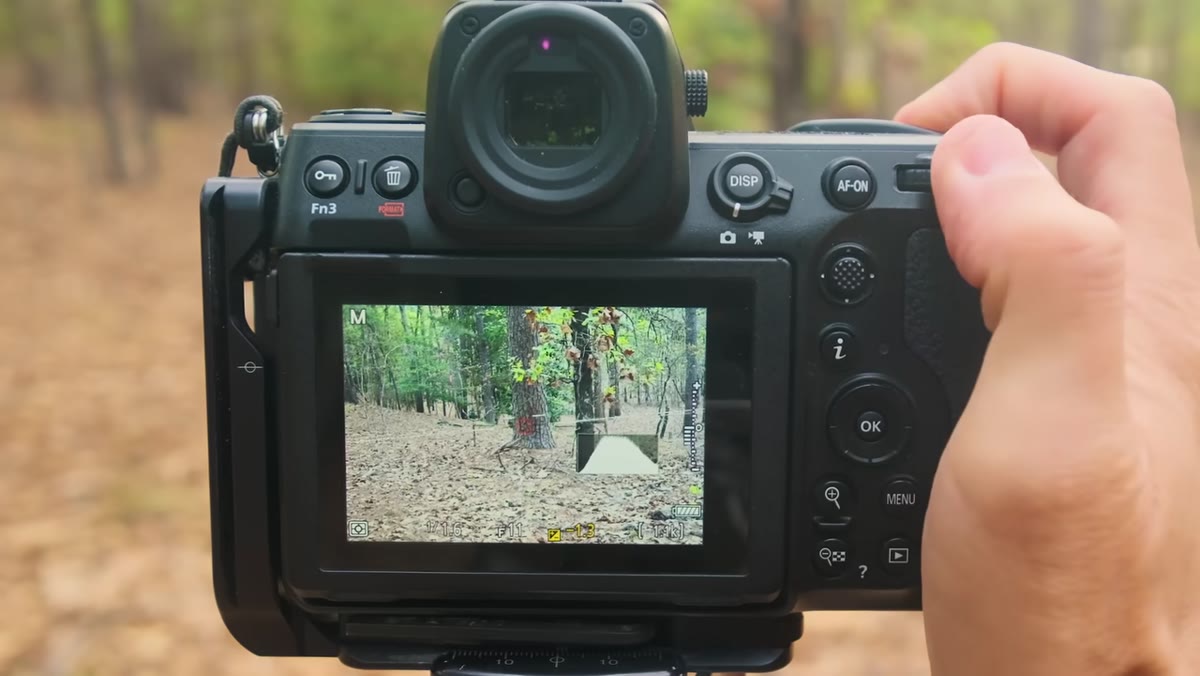 Photographer turning exposure compensation dial, exposure changing in real time
With Auto ISO active, go back to your exposure compensation dial and turn it. The camera responds immediately. Turn it toward the plus side and the image brightens; turn it toward the minus side and it darkens. The camera is achieving this by adjusting ISO in real time, while your aperture and shutter speed stay locked exactly where you put them.
Photographer turning exposure compensation dial, exposure changing in real time
With Auto ISO active, go back to your exposure compensation dial and turn it. The camera responds immediately. Turn it toward the plus side and the image brightens; turn it toward the minus side and it darkens. The camera is achieving this by adjusting ISO in real time, while your aperture and shutter speed stay locked exactly where you put them.
This is the moment Denney describes as things really starting to click, and he’s right. You’re not trading control, you’re adding a layer of intelligent automation underneath your manual decisions. Think of it like locking your crop in Lightroom and then adjusting exposure sliders. The structure holds; the brightness responds.
Step 5: Make One Exposure Decision and Let the Camera Maintain It
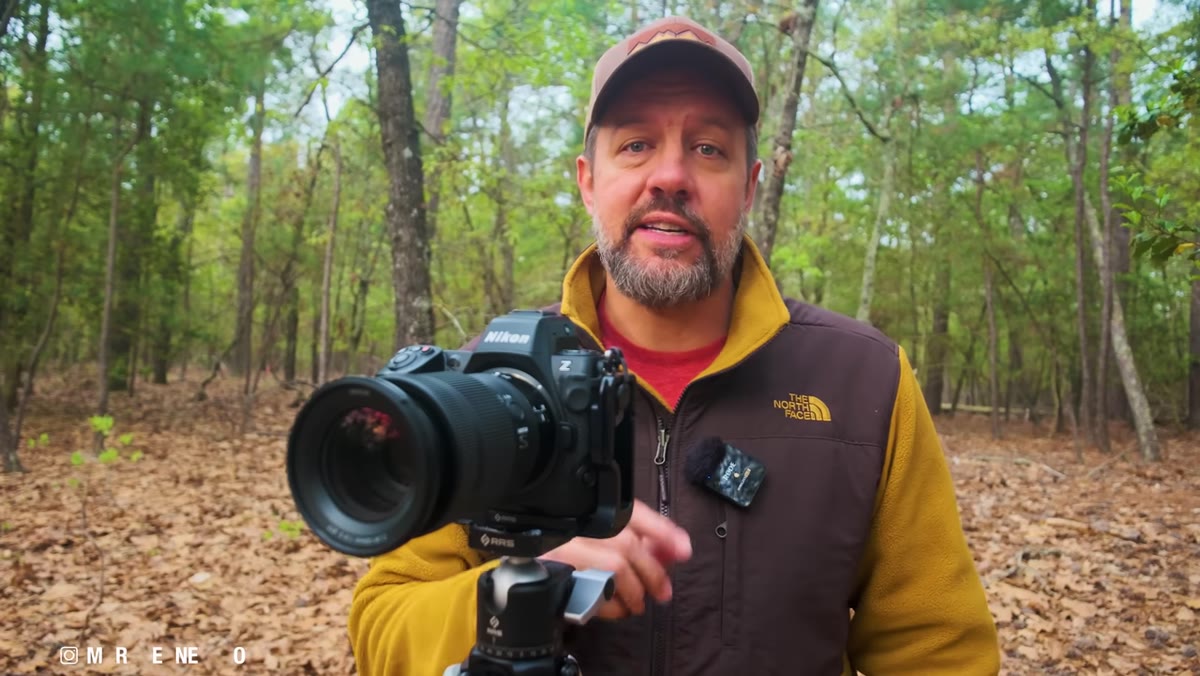 Exposure compensation set, camera maintaining exposure across changing light
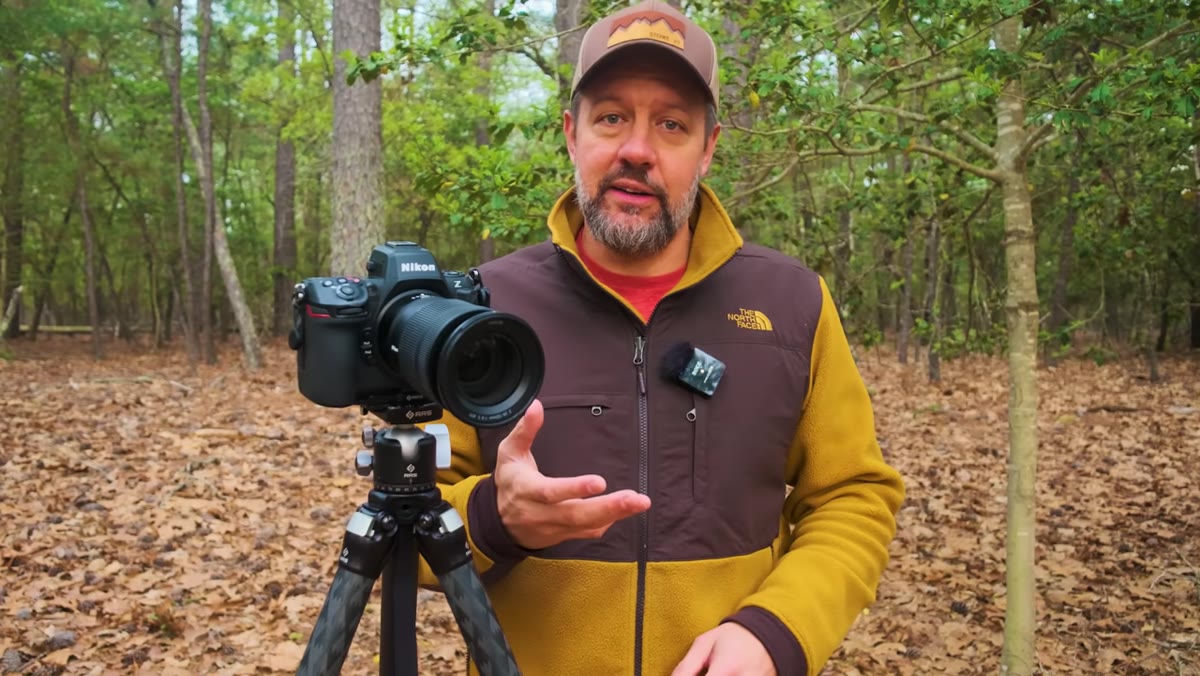
Here’s where the real workflow benefit lands. Instead of chasing every shift in ambient light by manually adjusting ISO over and over, you set your exposure compensation once to reflect how bright or dark you want the scene to look, and then you leave it. The camera uses Auto ISO to maintain that decision as the light changes, brighter clouds, a patch of shade, golden hour fading toward blue hour. Your composition focus stays on the frame, not on the meter.
Exposure compensation set, camera maintaining exposure across changing light
Here’s where the real workflow benefit lands. Instead of chasing every shift in ambient light by manually adjusting ISO over and over, you set your exposure compensation once to reflect how bright or dark you want the scene to look, and then you leave it. The camera uses Auto ISO to maintain that decision as the light changes, brighter clouds, a patch of shade, golden hour fading toward blue hour. Your composition focus stays on the frame, not on the meter.
Denney’s framing here is exactly right: you’re not reacting to light anymore, you’re making a single creative decision and letting the camera honor it going forward. That’s a fundamentally different relationship with your exposure workflow.
How This Translates to a Post-Production Mindset
What grabbed me about this tutorial wasn’t just the camera technique. It’s the underlying principle, which maps directly onto how I think about building Photoshop actions and batch workflows. The goal is always the same: make one good decision, then build a system that maintains that decision at scale so you’re not repeating the same judgment call manually a hundred times over.
I built my first Photoshop action at 26 specifically because I’d spent an entire day doing the same crop-and-resize task 200 times and couldn’t believe I’d accepted that as normal. Denney’s exposure compensation setup is the in-camera version of that exact realization. The moment you stop manually rebuilding the same thing over and over and let a smart system maintain your decision, you free up your attention for the work that actually requires human judgment: composition, timing, creative choices.
One practical caveat from my own testing: set an Auto ISO ceiling in your camera’s Auto ISO settings. Most cameras let you define a maximum ISO value so the camera doesn’t push into noise territory you’re not comfortable with. I run mine at ISO 6400 as a hard limit, and I set my minimum shutter speed manually before I start shooting. That way Auto ISO is working within a range I’ve already approved, not making decisions I’d override anyway.
The single most important takeaway here is this: enabling Auto ISO doesn’t mean giving up manual control. It means giving the camera one specific job so that your exposure compensation dial can do its actual job. Your aperture and shutter speed stay yours. The camera handles the ISO math. You handle the shot.
Watch the full tutorial on YouTube to see Mark Denney demonstrate this live in the field, including the before-and-after of turning the dial with and without Auto ISO active.
Comments (3)
Simple but effective. Sometimes that's all you need.
This saved me so much time on my last edit. Wish I'd found this sooner.
Great article! I actually covered something related on my site — the photoshop angle is really complementary to this.
Leave a Comment