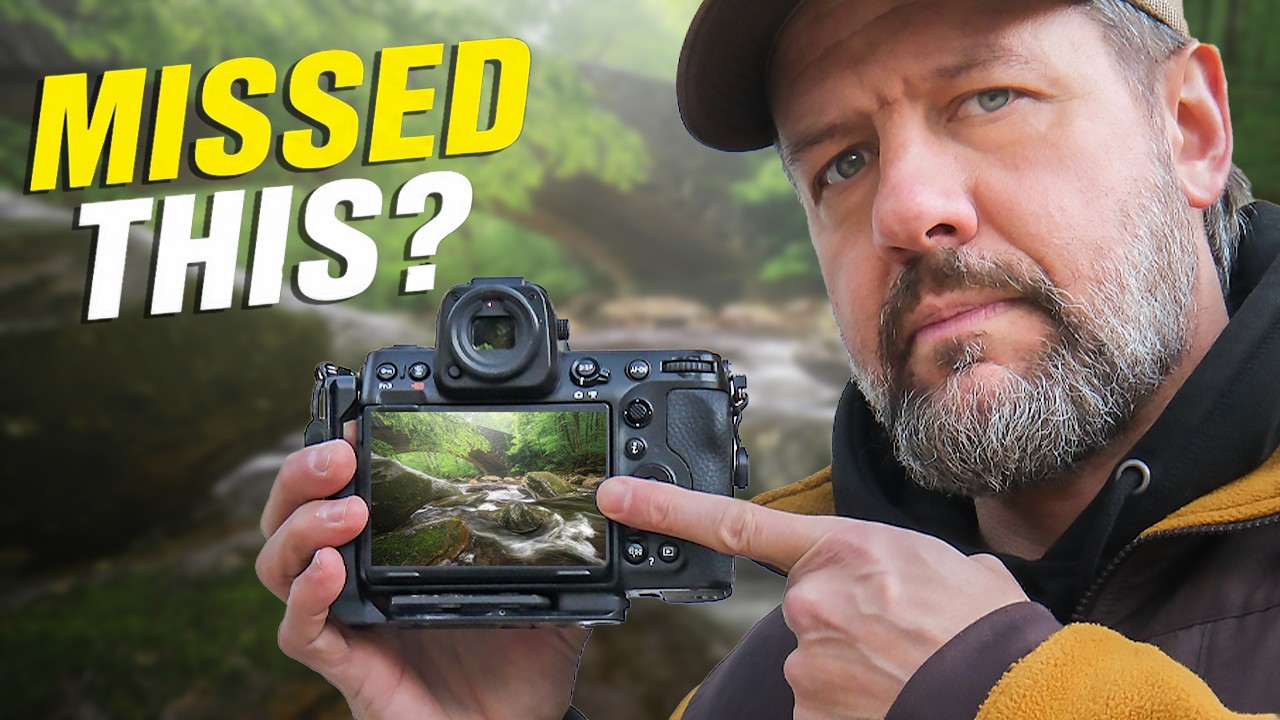
I’ve spent fifteen years in commercial studios where a missed detail isn’t a learning moment, it’s a reshoot budget. That particular pain has made me obsessive about checklists, whether I’m batching 500 product images or setting up a single hero shot. So when I came across a tutorial from landscape photographer Mark Denney, I expected the usual compositional theory. What I got instead was something closer to a pre-flight checklist, the kind of systematic field routine that prevents problems rather than fixing them in post.
Watch the full tutorial on YouTube
In this Mark Denney tutorial, he opens with something that stopped me mid-coffee. He describes getting home from a shoot, pulling up an image he was excited about, and immediately spotting something that would have taken five seconds to fix in the field. That specific frustration, the sinking feeling when you see it on a calibrated monitor that you never caught on the back of a camera, is universal. What he’s built is a repeatable scan you run before pressing the shutter. For landscape photographers it keeps you from wasting golden-hour light. For anyone editing those images afterward, it means fewer hours spent on content-aware fills and clone-stamping around problems that should never have existed.
Here’s the routine, broken down into the steps Denney walks through.
Step 1: Scan Every Edge and Every Corner
 Frame edges highlighted showing rock distraction near border
Before anything else, Denney scans the full perimeter of the frame, not the subject, not the light, the edges. This is where amateur compositions quietly fall apart. The eye naturally gravitates toward the center of interest, which means the periphery gets ignored until you’re sitting at your desk wondering what that dark shape is creeping in from the lower left.
Frame edges highlighted showing rock distraction near border
Before anything else, Denney scans the full perimeter of the frame, not the subject, not the light, the edges. This is where amateur compositions quietly fall apart. The eye naturally gravitates toward the center of interest, which means the periphery gets ignored until you’re sitting at your desk wondering what that dark shape is creeping in from the lower left.
Run your eye deliberately around each of the four edges, then check all four corners individually. You’re looking for two things: objects intruding into the frame that serve no compositional purpose, and important elements sitting too close to the boundary. An element jammed against the edge of the frame looks like an accident, not a choice. It creates a cramped, claustrophobic feeling that undercuts an otherwise strong image. If you spot either problem, the fix is almost always a matter of taking a few steps in any direction or adjusting your zoom slightly.
Step 2: Identify Elements That Are Too Close to the Frame Boundary
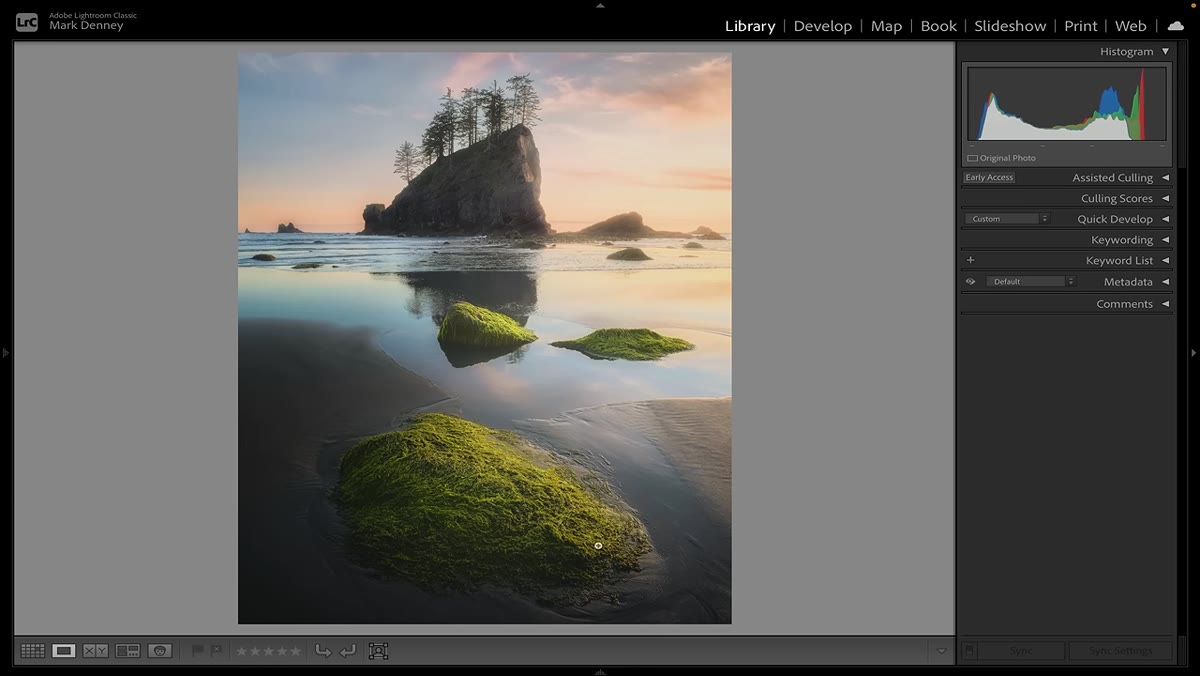 Swoop detail sitting right at bottom frame edge
This is a refinement of the edge scan, and Denney treats it as its own distinct check because it catches a different category of mistake. The first step finds things that shouldn’t be there at all. This step finds things that should be there but need more room to breathe.
Swoop detail sitting right at bottom frame edge
This is a refinement of the edge scan, and Denney treats it as its own distinct check because it catches a different category of mistake. The first step finds things that shouldn’t be there at all. This step finds things that should be there but need more room to breathe.
He shows several examples where a key compositional element, a rock, a palm tree, a curve in a river, sits right at the very edge of the frame. The problem isn’t the element itself. The problem is that its proximity to the boundary makes it look like the photographer almost cropped it out rather than deliberately included it. The rule of thumb he applies: if an element matters enough to include, it matters enough to give adequate breathing room. If you can’t reframe without losing something else you need, that’s a signal the composition itself needs rethinking, not just the framing.
Step 3: Ask Yourself Whether You’ve Actually Moved Your Feet
 First Iceland composition versus repositioned shot side by side
This is the check that I think most photographers skip because it requires admitting that your first instinct might not be your best one. Denney puts it plainly: the first position you settle into is often not the strongest one. It’s the obvious one. The one every other photographer standing at that location has already shot.
First Iceland composition versus repositioned shot side by side
This is the check that I think most photographers skip because it requires admitting that your first instinct might not be your best one. Denney puts it plainly: the first position you settle into is often not the strongest one. It’s the obvious one. The one every other photographer standing at that location has already shot.
He demonstrates this with two shots from Iceland. The first is competent and quiet. The second, taken after walking roughly fifty feet to the left toward the river, is a completely different image in terms of energy and impact. Same light, same subject, different feet. The discipline here is to resist the pull of a composition that feels good enough, and instead physically move around the scene before committing. Try lower. Try higher. Try coming at the subject from an angle you haven’t considered. Spend two minutes doing this and you may find you’ve been standing in the wrong spot the entire time.
Step 4: Challenge the Obvious or Classic Viewpoint
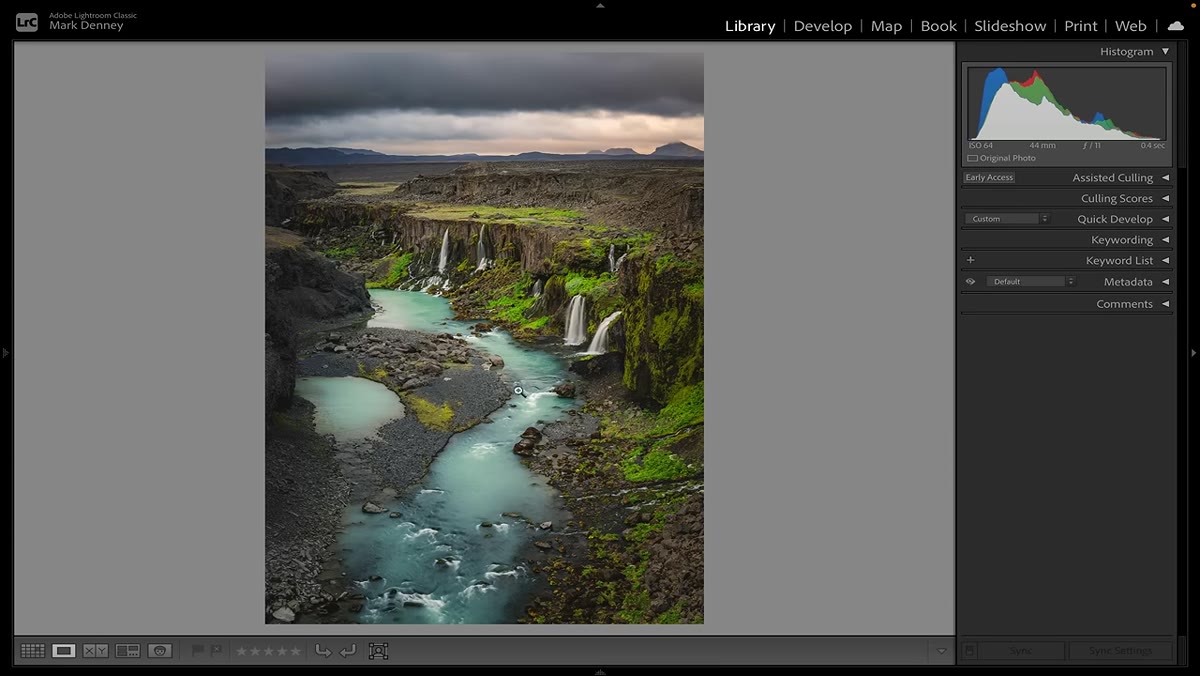 Standard popular viewpoint in Iceland Highlands versus alternative angle
This step is a close cousin to Step 3, but it addresses a specific trap: the famous viewpoint. At popular locations, there’s often a well-worn spot where everyone plants their tripod because the composition is proven. Denney acknowledges this pull and then pushes back on it deliberately.
Standard popular viewpoint in Iceland Highlands versus alternative angle
This step is a close cousin to Step 3, but it addresses a specific trap: the famous viewpoint. At popular locations, there’s often a well-worn spot where everyone plants their tripod because the composition is proven. Denney acknowledges this pull and then pushes back on it deliberately.
His example is a shot from the Icelandic Highlands where the classic view is well-established and genuinely strong. He shot it. Then he asked himself whether he could find something better by departing from the conventional framing. The point isn’t that famous viewpoints are bad. The point is that stopping at the obvious composition without questioning it is a habit, and habits don’t always produce your best work. Build in a moment to consciously ask: have I looked for an alternative, or am I just standing where everyone else stands?
Step 5: Review the Full Frame One Final Time Before Shooting
 Photographer reviewing composition on camera back in field
After you’ve scanned the edges, checked for crowded elements, moved your feet, and challenged your instincts, do one complete final review of the entire frame before you press the shutter. Denney treats this as the last gate before committing. Look at the image as a whole, not just the subject. Check that nothing has shifted since you repositioned. Confirm that the horizon is where you want it, that no new distractions have entered the frame, and that the overall balance feels intentional.
Photographer reviewing composition on camera back in field
After you’ve scanned the edges, checked for crowded elements, moved your feet, and challenged your instincts, do one complete final review of the entire frame before you press the shutter. Denney treats this as the last gate before committing. Look at the image as a whole, not just the subject. Check that nothing has shifted since you repositioned. Confirm that the horizon is where you want it, that no new distractions have entered the frame, and that the overall balance feels intentional.
This sounds obvious. It also takes about ten seconds. The photographs that come back from the field with problems almost always missed this final pass.
What I’d Add From the Post-Production Side
Denney’s routine is built for the field, and it works. But there’s a direct post-production corollary worth mentioning for anyone who edits landscape work seriously. Every one of these in-camera checks corresponds to a fix that is either difficult or impossible to fully recover in Lightroom or Photoshop. Intrusions at the frame edge can sometimes be cloned out, but complex backgrounds make that a serious time investment. An element with no breathing room can occasionally be rescued with a slight crop, but you’re losing resolution and potentially ruining a ratio you wanted. And no amount of retouching recovers a composition that needed different feet.
I track the hours my Photoshop actions save me, and the number is substantial enough that I take it seriously. But the highest-leverage efficiency gain in any photography workflow isn’t a faster export preset or a smarter batch action. It’s not having to fix something that should have been caught before the image existed. A five-second check in the field routinely saves twenty minutes in post.
The single most valuable thing Denney’s routine gives you is a way to slow down one decision, the shutter press, without slowing down the shoot itself. Build the scan into your muscle memory and it costs you almost nothing in the field. Skip it and you’ll pay the tax later at your desk.
Watch the full tutorial on YouTube to see Denney’s full examples and the before-and-after comparisons that make each step land properly.
Comments (5)
Would love to see a follow-up going deeper into this topic.
My workflow just got 10x faster. Not even kidding.
Clear and practical. No fluff. Appreciate that.
I keep coming back to this article. It's that useful.
I keep coming back to this article. It's that useful.
Leave a Comment