Perfectly Clear's Beautify Presets Are Doing the Portrait Work I Used to Spend Hours On

Perfectly Clear's Beautify Presets Are Doing the Portrait Work I Used to Spend Hours On

Portrait retouching is where studio time goes to die. I know this from experience. Early in my commercial work, I’d clock a solid hour on a single headshot: adjusting brush for teeth, healing tool for under-eye circles, manual skin smoothing pass, back and forth until the art director finally signed off. Multiply that by a hundred frames from a branding shoot and you understand why I’ve spent a significant portion of my career building systems to avoid repeating myself.
Clone Stamp vs Spot Healing vs Generative Fill: Which Photoshop Tool Should You Actually Use?

Clone Stamp vs Spot Healing vs Generative Fill: Which Photoshop Tool Should You Actually Use?

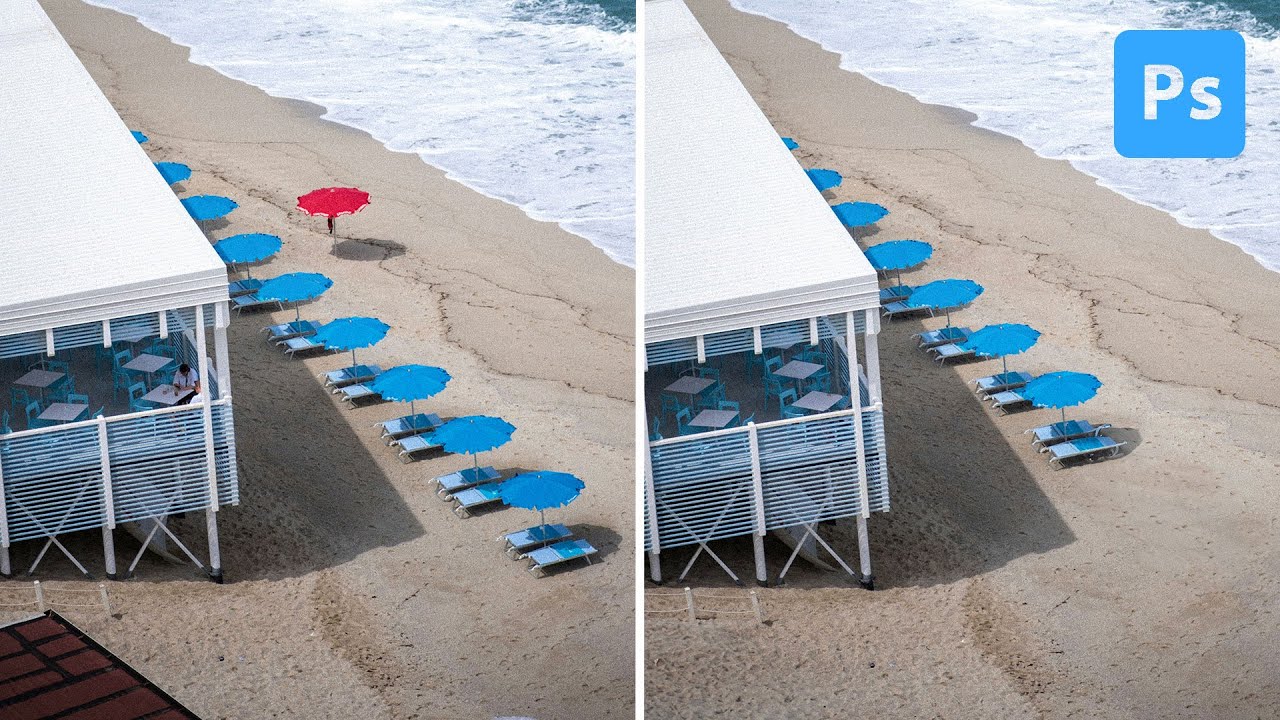
A question I keep getting from clients and newer retouchers goes something like this: “Why would I ever use the Clone Stamp tool when Generative Fill exists?” It’s a fair question on the surface. But after fifteen years of studio work, I’ve learned that choosing the wrong tool for a removal job doesn’t just affect quality. These days, it can affect how your image gets labeled across every platform you publish to.

Why Your Photoshop Presets Are Probably Undermining Your Own Workflow

Why Your Photoshop Presets Are Probably Undermining Your Own Workflow

The first time I built a Photoshop action, I was 26, working a late shift at a studio in the West Loop, and I had just spent four hours manually resizing and sharpening 80 product images for a catalog client. Same crop. Same output size. Same sharpening radius. Eighty times. By image 60, I wasn’t even seeing the photos anymore, just clicking through the motions like a machine pretending to be a person.

How to Install Custom Brushes in Photoshop (And Actually Use Them Well)

How to Install Custom Brushes in Photoshop (And Actually Use Them Well)

Every time I onboard a new retoucher at my consultancy, the same conversation happens within the first week. They’ve downloaded a beautiful custom brush pack, they open Photoshop, and then they stare at it like it’s a locked door with no handle. Brush installation is one of those things that feels like it should be obvious but genuinely isn’t the first time. And if you get it wrong, you end up with a brush that loads but doesn’t appear where you expect, or duplicates stacking up invisibly in your panel while you wonder why nothing looks right.

Clean Portraits in Minutes: Using Photoshop's Generative Fill to Kill Background Distractions

Clean Portraits in Minutes: Using Photoshop's Generative Fill to Kill Background Distractions

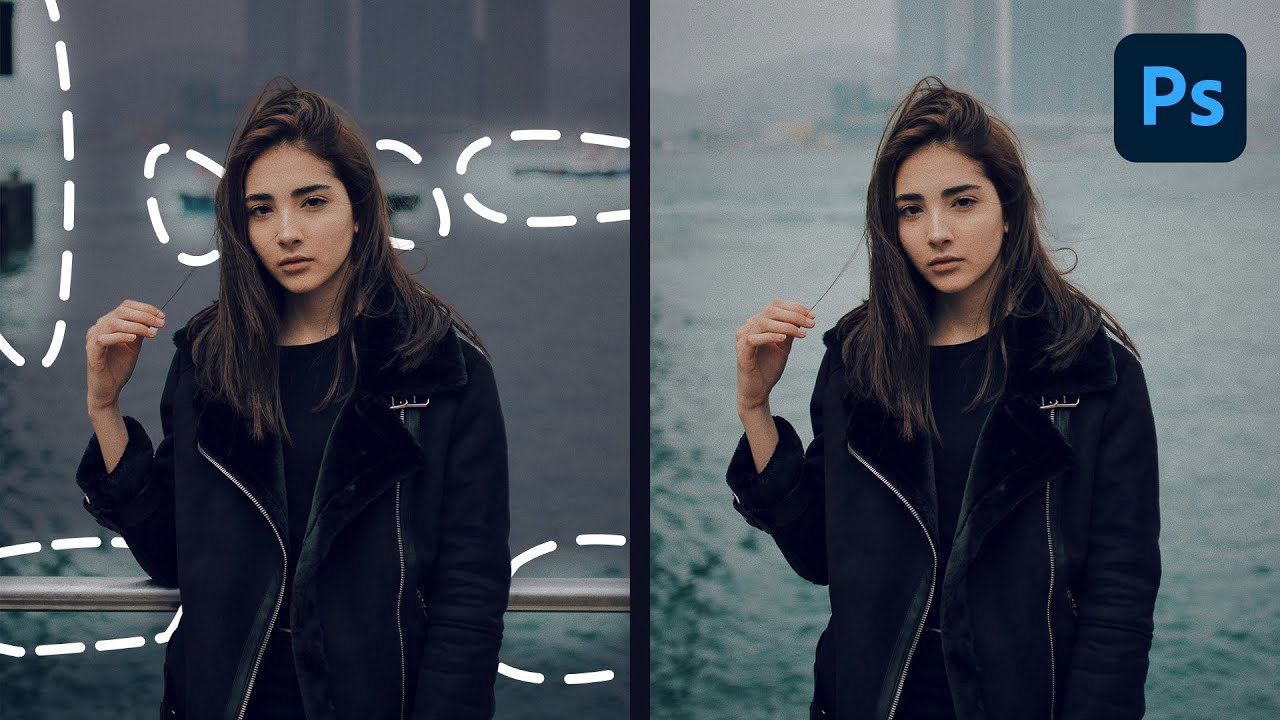
Every portrait photographer knows the feeling. You nail the light, the expression is perfect, the client is thrilled with the shoot — and then you open the RAW files and spot the lawn chair in the lower left corner. Or the exit sign bleeding in behind your subject’s shoulder. Or the boats and dock railing cutting across an otherwise clean waterfront background. These aren’t disasters, but they eat time. In my years running post-production for ad agencies and e-commerce brands, I’ve watched small distractions like these turn a one-hour retouch into a three-hour one.

How to Record Photoshop Actions from Scratch (And Finally Stop Forgetting Your Own Techniques)

How to Record Photoshop Actions from Scratch (And Finally Stop Forgetting Your Own Techniques)

There’s a specific kind of frustration that hits when you’ve developed a technique you genuinely love, used it a dozen times, and then six weeks later you’re staring at a blank canvas trying to reconstruct it from memory. That used to happen to me constantly in my early studio years. I’d nail a color treatment on a campaign, close the file, and by the next job, half the steps were gone.

How to Create a Glitter Sparkle Effect in Photoshop Using Blend Modes and Custom Brushes

How to Create a Glitter Sparkle Effect in Photoshop Using Blend Modes and Custom Brushes

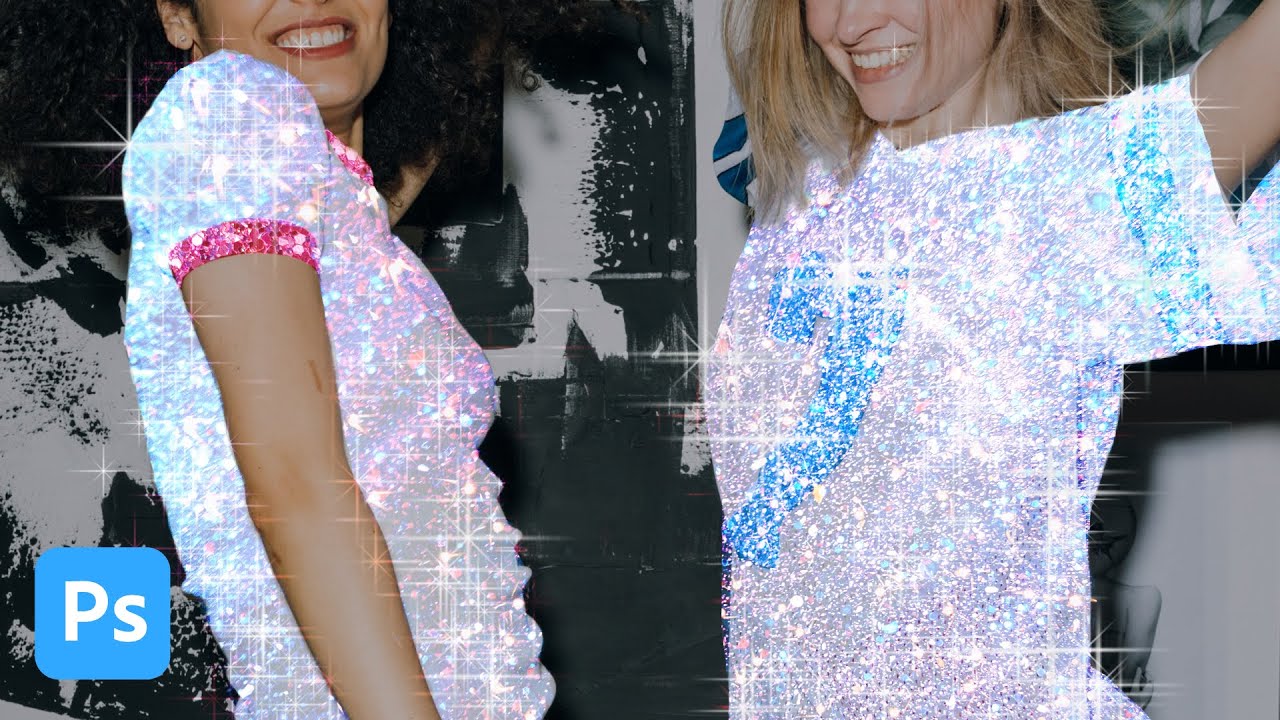
My clients come in two flavors: the ones who know exactly what they want, and the ones who send me a Pinterest board full of Instagram-aesthetic images and say “make it look like that.” The glitter sparkle effect falls firmly into the second category. I’ve been seeing it on product shots and portrait campaigns for a couple of years now, and every time a client sends me a reference I’ve had to reverse-engineer it on the fly.

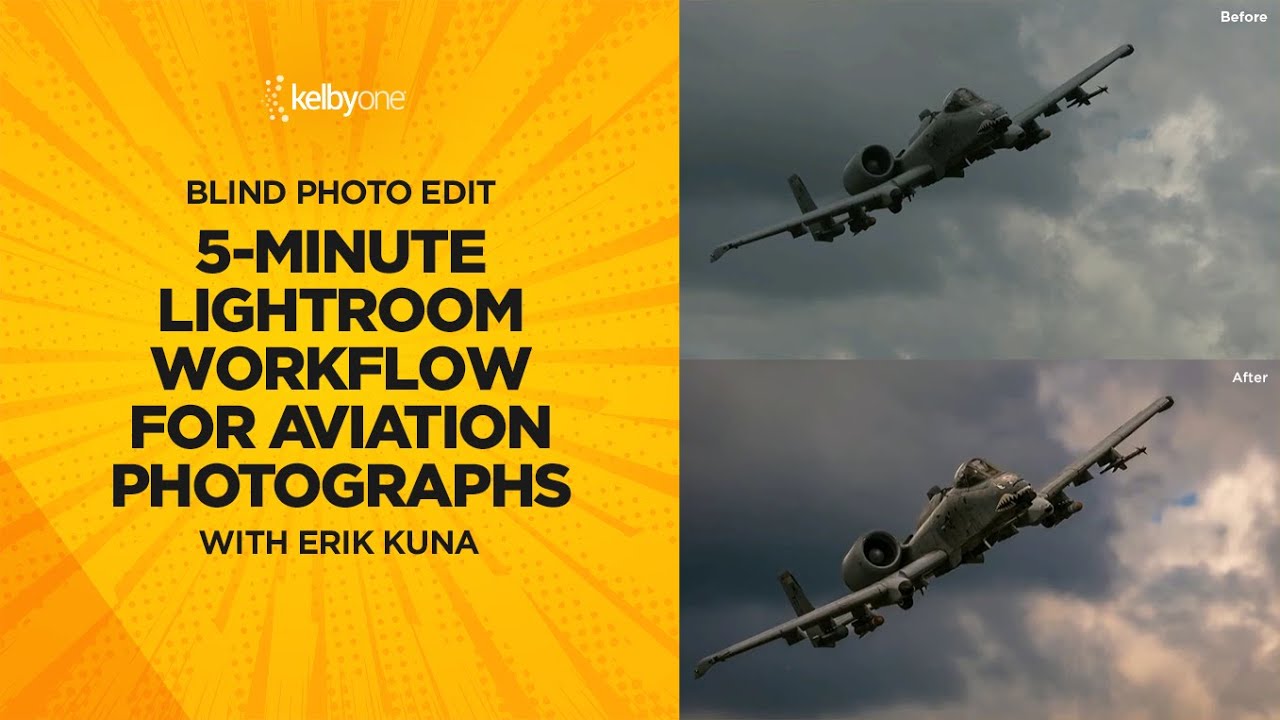
How to Edit Aviation Photos in Lightroom: A Fast 5-Step Workflow That Actually Works

How to Edit Aviation Photos in Lightroom: A Fast 5-Step Workflow That Actually Works

Most of my clients shoot products or campaigns under controlled light. Aviation photographers get none of that luxury. They’re chasing fast-moving metal across unpredictable skies, handing off RAW files that are flat, noisy, and frequently lacking the contrast that makes a military jet look like it’s actually moving. When those files land in Lightroom, the edit has to work harder than usual — and it has to work fast. In this KelbyOne tutorial, photographer and educator Scott Kelby runs a blind edit on a reader-submitted A-10 Warthog photo, and the workflow he uses maps cleanly onto almost any aviation or airshow shot.

Why Your Sharpest Aperture Isn't f/22 (And What to Do Instead)

Why Your Sharpest Aperture Isn't f/22 (And What to Do Instead)

Every landscape job I take on starts the same way: the client wants everything sharp, front to back, horizon to horizon. For years I watched photographers in my studio reach straight for f/22 the moment they needed deep depth of field, like it was some kind of guaranteed solution. The results came back soft, and nobody could figure out why. The glass was good, the tripod was solid, the technique was clean.

The Workflow Stack I Actually Use: Honest Notes from 15 Years of Studio Post-Production

The Workflow Stack I Actually Use: Honest Notes from 15 Years of Studio Post-Production

The first time I spent an entire day cropping and resizing the same image 200 times, I wasn’t frustrated. I was embarrassed. I had been working in commercial photography studios for years at that point, surrounded by people who talked about efficiency constantly, and there I was, manually typing pixel dimensions into the Image Size dialog like it was 1997. That afternoon I went home and learned just enough Photoshop scripting to make sure it never happened again.

Mastering the Brush Tool in Photoshop: Dodge, Burn, and Custom Cloud Brushes

Mastering the Brush Tool in Photoshop: Dodge, Burn, and Custom Cloud Brushes

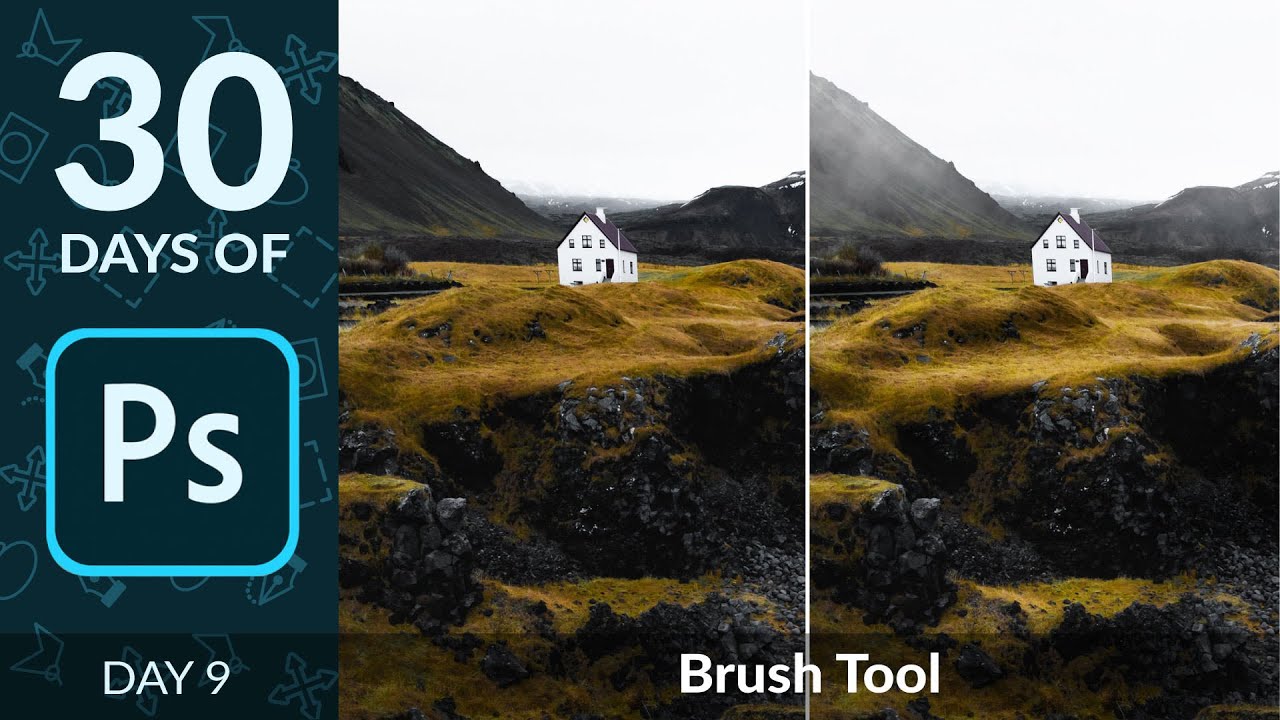
Most tools in Photoshop get their moment in the spotlight. The Pen tool has its cult following. The healing brush gets tutorials dedicated entirely to skin retouching. But the brush tool? People tend to gloss over it because it seems obvious. You paint. That’s it. What I’ve found after fifteen years of working in commercial post-production is that the brush tool is quietly responsible for some of the most important work happening in any comp, and most people are using it at maybe 30 percent of its capability.

The Lightroom Preset Trick That Saves You From Rebuilding the Same Look Over and Over

The Lightroom Preset Trick That Saves You From Rebuilding the Same Look Over and Over

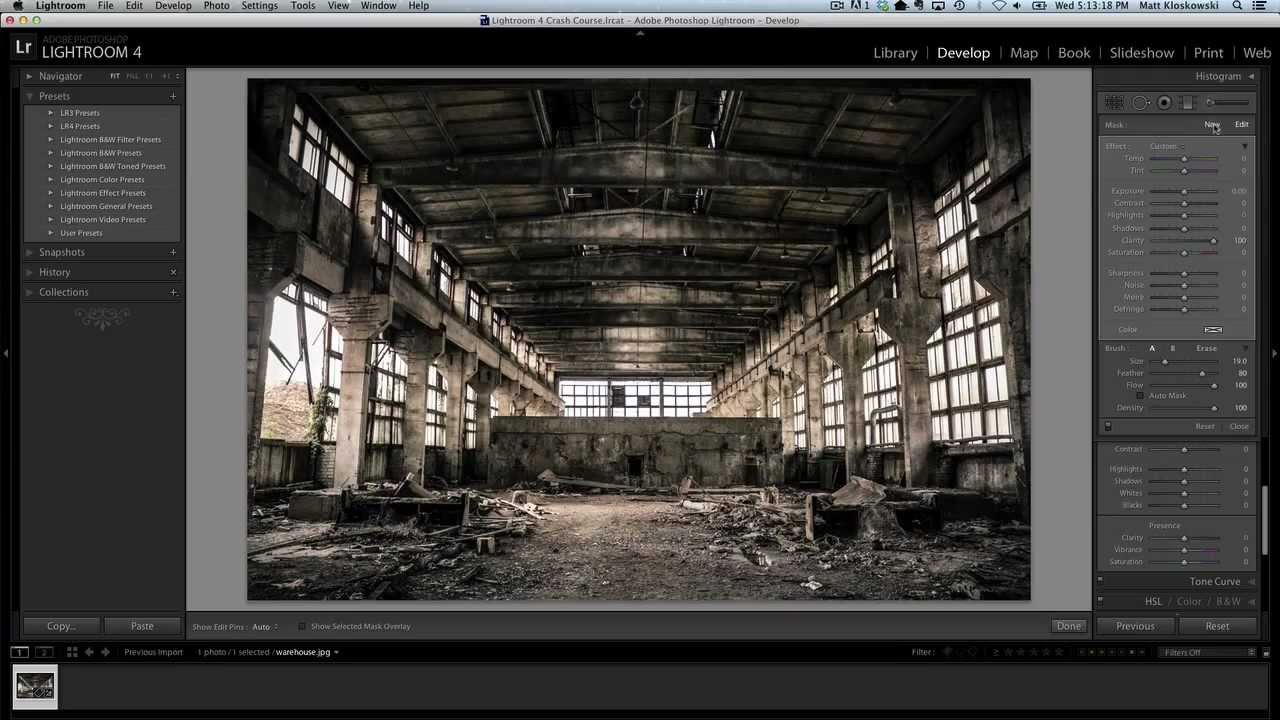
There’s a specific kind of frustration that comes from building a look you love inside Lightroom, knowing you’re going to want it again, and then realizing you can’t save it the way you’d expect. I’ve been doing post-production work for fifteen years, and I still run into this. You develop a multi-step technique, something that takes four or five minutes to apply manually, and your brain immediately starts calculating how many times you’ll have to repeat that process across a shoot.