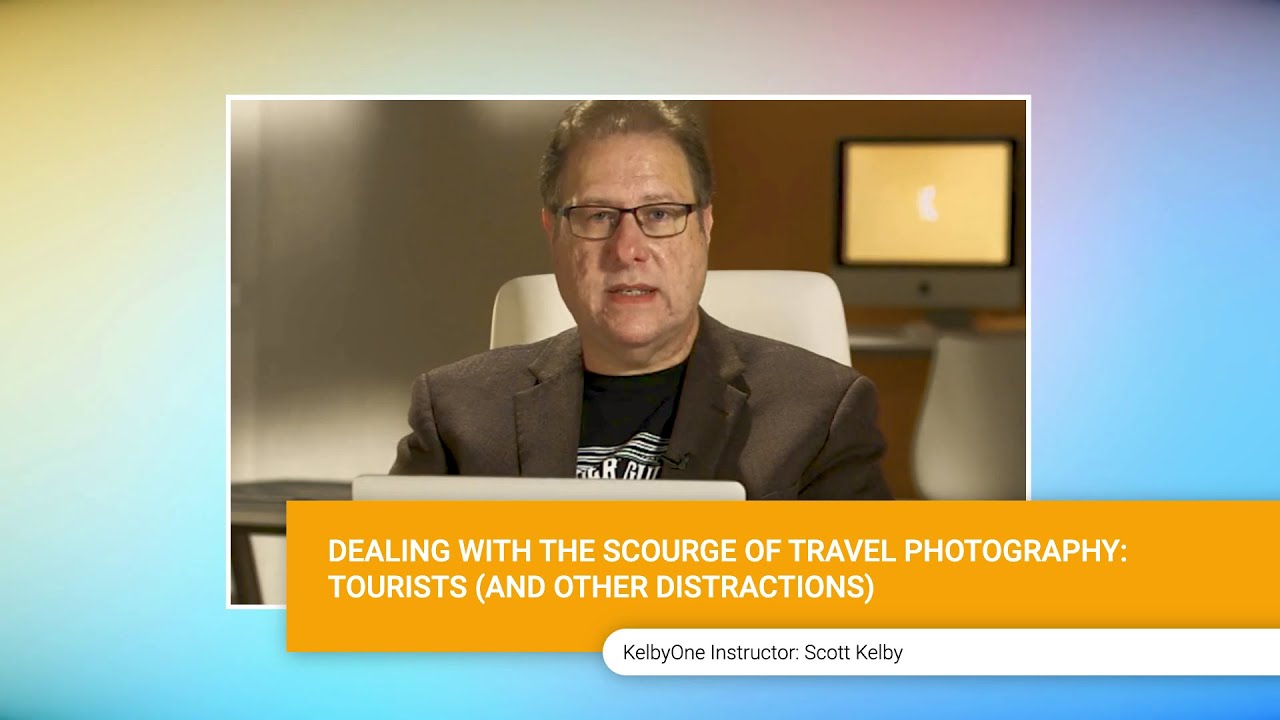
How to Actually Remove Tourists and Distractions from Travel Photos (A Photoshop and Field Strategy Guide)

How to Actually Remove Tourists and Distractions from Travel Photos (A Photoshop and Field Strategy Guide)

I spent a long time thinking that tourist removal was purely a post-production problem. Set up the tripod, shoot the famous landmark, then spend an hour cloning out strangers in Photoshop. After 15 years of commercial work, I know better now, but I still catch myself skipping the field discipline and paying for it at the computer. That habit got challenged pretty directly when I watched Scott Kelby walk through his approach in this KelbyOne tutorial.
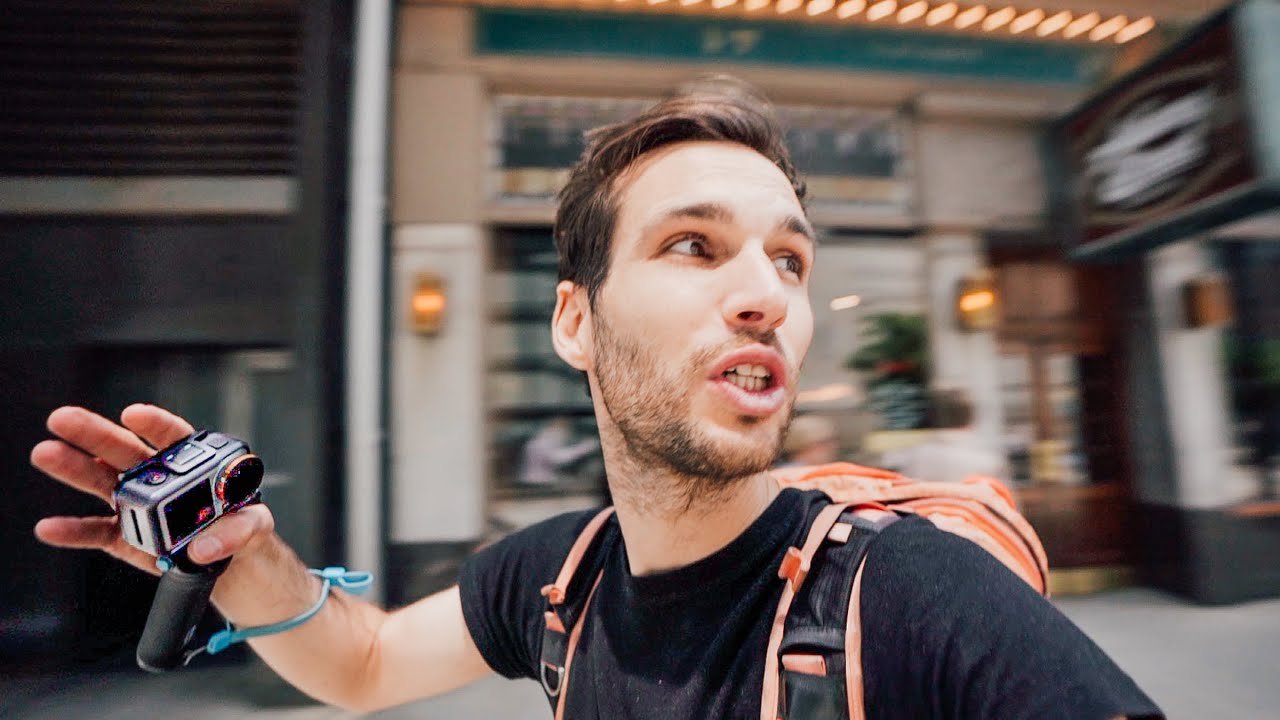

Shooting RAW Street Photography with an Action Cam: 3 Creative Techniques Worth Stealing

Shooting RAW Street Photography with an Action Cam: 3 Creative Techniques Worth Stealing

Most of my work lives inside Photoshop. I’ve built actions that compress hours of post-production into a single keystroke, and I’ll happily geek out about batch processing over a cup of coffee. But every now and then something lands in my feed that reminds me the best post-production starts before you ever open Lightroom. In this Pierre T. Lambert tutorial, he takes the DJI Osmo Action — a small, wide-angle action camera not typically associated with serious stills work — out onto city streets and challenges himself to make compelling photographs with it.

How I Built a Batch System That Processed 500 Product Shots in One Afternoon

How I Built a Batch System That Processed 500 Product Shots in One Afternoon

One Friday afternoon a few years back, I had 500 product shots sitting in a folder, a client deadline on Monday morning, and a very specific list of deliverables: web-optimized JPEGs at 1200x1200px, print-ready TIFFs at 300dpi, and white-background composites for an e-commerce catalog. In a previous life, that job would have eaten my entire weekend. Instead, I spent Saturday morning building a system, ran it Saturday afternoon, and watched a progress bar do the work while I made lunch for my kids.

Turn Any Lens Flare Stock Image Into a Reusable Photoshop Brush (and Stop Placing the Same Layer 40 Times)

Turn Any Lens Flare Stock Image Into a Reusable Photoshop Brush (and Stop Placing the Same Layer 40 Times)

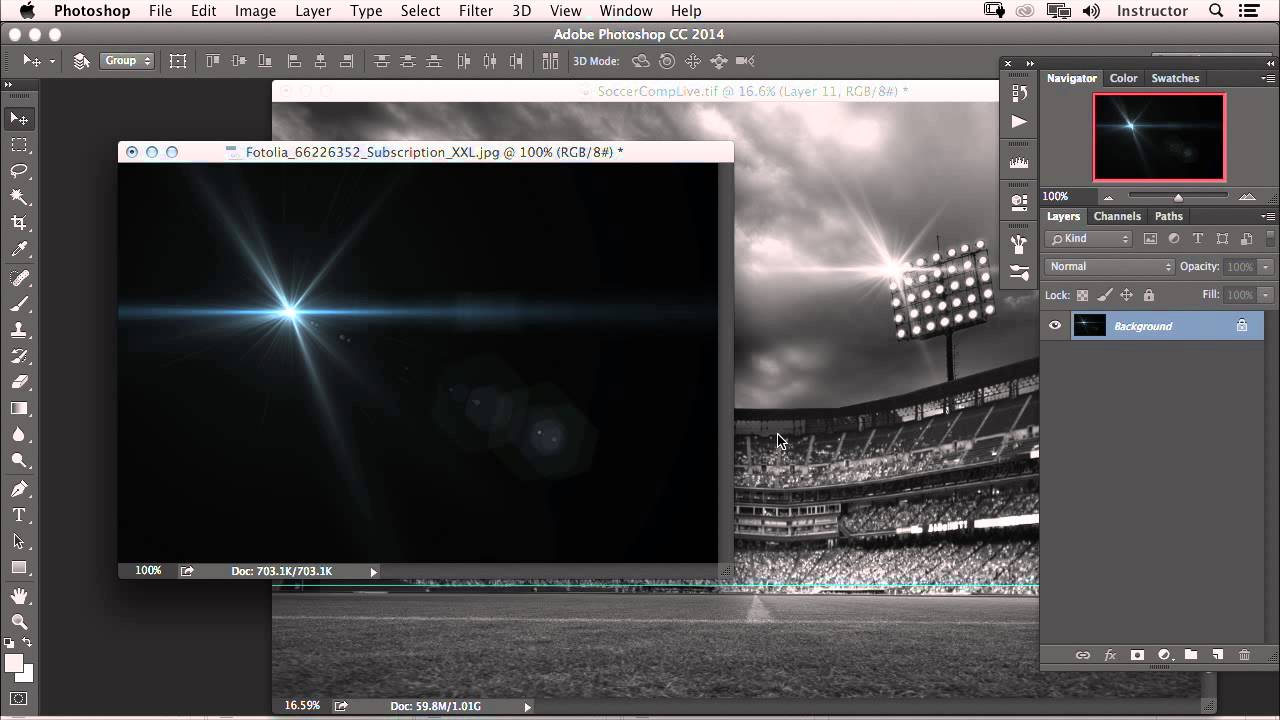
There’s a particular kind of tedium that creeps into composite work when you’re adding the same element over and over. I’ve been there with product shots, I’ve been there with sky replacements, and I’ve definitely been there with light effects. You find a nice lens flare stock image, drag it onto your canvas, set the blending mode to Screen, scale it down, position it, and then realize you need to do that exact sequence fourteen more times for every light source in the frame.

Photoshop's Adjustment Brush Tool (Beta): A Working Pro's First Look

Photoshop's Adjustment Brush Tool (Beta): A Working Pro's First Look

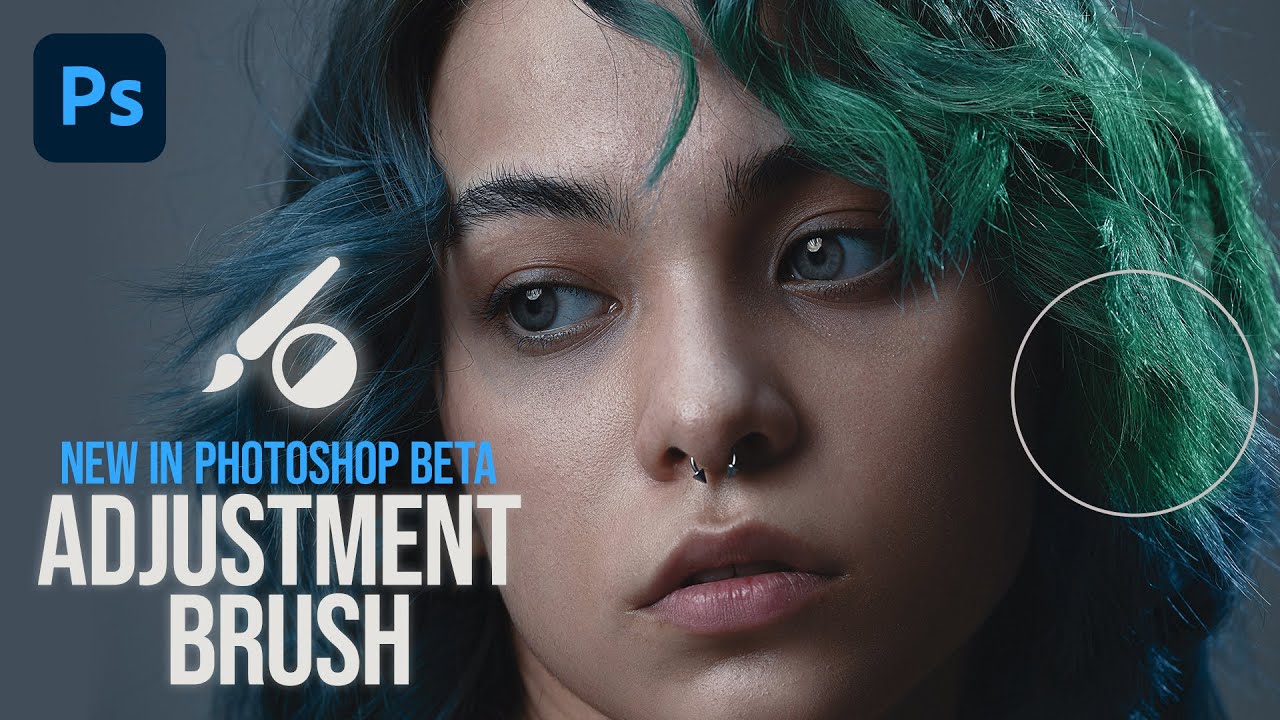
New tools in Photoshop are genuinely rare. Adobe spends most of its energy refining what already exists, which is usually the right call. So when something truly new lands in the beta, I pay attention. The Adjustment Brush tool is one of those features that immediately made me think about how many extra steps I take every single time I want to apply a localized adjustment to a subject. Right now, my standard move is: create an adjustment layer, open Select Subject, load the selection as a mask, then tweak.

Camera Settings for Action Photography: What a Horse Racing Shoot Taught Me About Getting Sharp Shots

Camera Settings for Action Photography: What a Horse Racing Shoot Taught Me About Getting Sharp Shots

Action photography has a way of exposing every weak link in your workflow, and I say that as someone who spent fifteen years in commercial studios where the subject sat still and waited for me. The first time a client asked me to shoot behind-the-scenes action footage for a campaign, I realized how badly my habits had calcified. I was half a second slow on every critical moment because my camera setup was optimized for product shots, not moving targets.

Adding Window Textures and Light Overlays in Photoshop: A Workflow Worth Stealing

Adding Window Textures and Light Overlays in Photoshop: A Workflow Worth Stealing

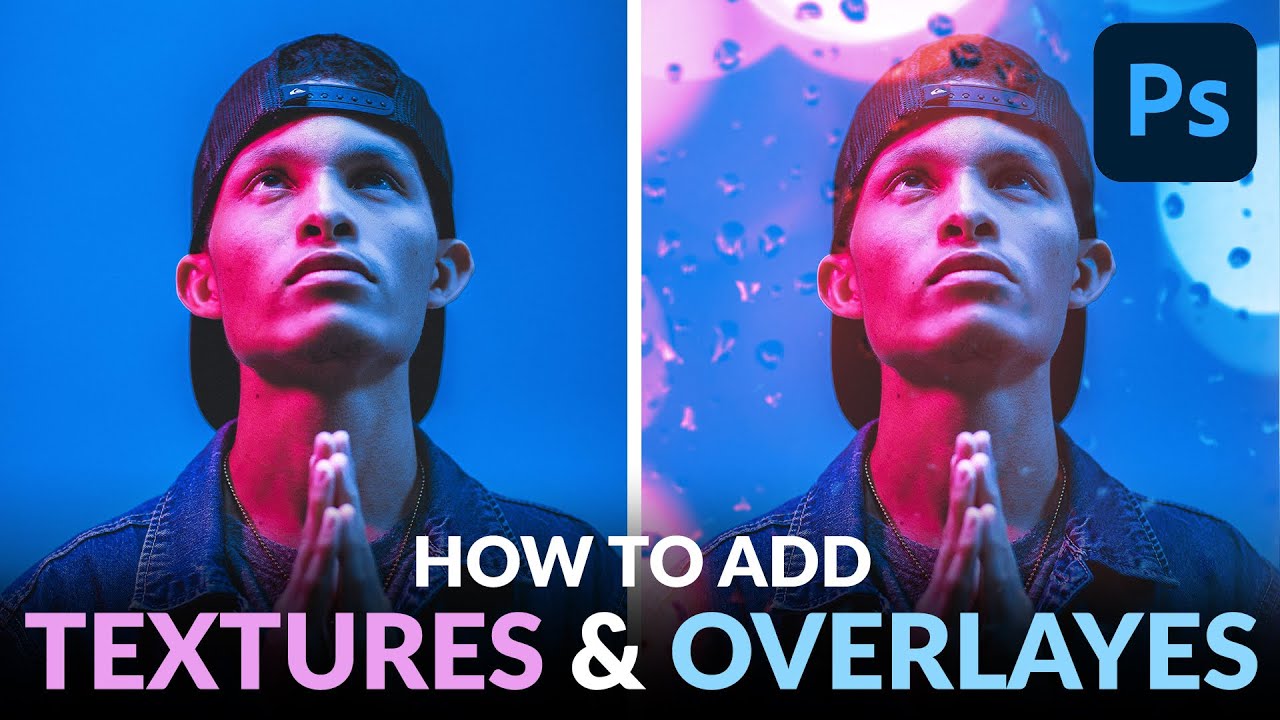
Client work has a way of exposing the gaps in your toolkit. A few months back I was finishing up a portrait series for an ad agency, and the creative director kept asking for something “moodier, more atmospheric” without being able to articulate exactly what that meant. I knew the bones of the image were solid. What it needed was depth, some suggestion of environment and light without compositing in an entirely new background.

What Happens When You Retouch a Portrait With Only the Brush Tool (Aaron Nace's Challenge, Broken Down)

What Happens When You Retouch a Portrait With Only the Brush Tool (Aaron Nace's Challenge, Broken Down)

I’ve spent fifteen years watching junior retouchers freeze up the moment they open a portrait file. They scroll through the tool panel, reach for the Healing Brush, then the Clone Stamp, then some plugin, and before long they’ve got eight tools running and no clear mental model of what they’re actually doing to the image. The irony is that most of the fundamental operations in portrait retouching — blemish removal, dodging, burning, color correction — can be reduced to one core skill: painting with intention.

How to Build a Border-and-Rule Action in Photoshop (And Why Your Workflow Needs One)

How to Build a Border-and-Rule Action in Photoshop (And Why Your Workflow Needs One)

Every hour I spend clicking through the same sequence of menus is an hour I’m not billing. That’s not philosophy, that’s arithmetic. I’ve been running post-production for ad agencies and e-commerce brands long enough to know that the difference between a profitable shoot day and a painful one often comes down to how much of your repetitive work you’ve already automated before the files land in your lap. That’s exactly why I keep coming back to tutorials on Photoshop Actions, even after all these years.

Fake the Long-Exposure Cloud Streak in Photoshop (No ND Filter Required)

Fake the Long-Exposure Cloud Streak in Photoshop (No ND Filter Required)

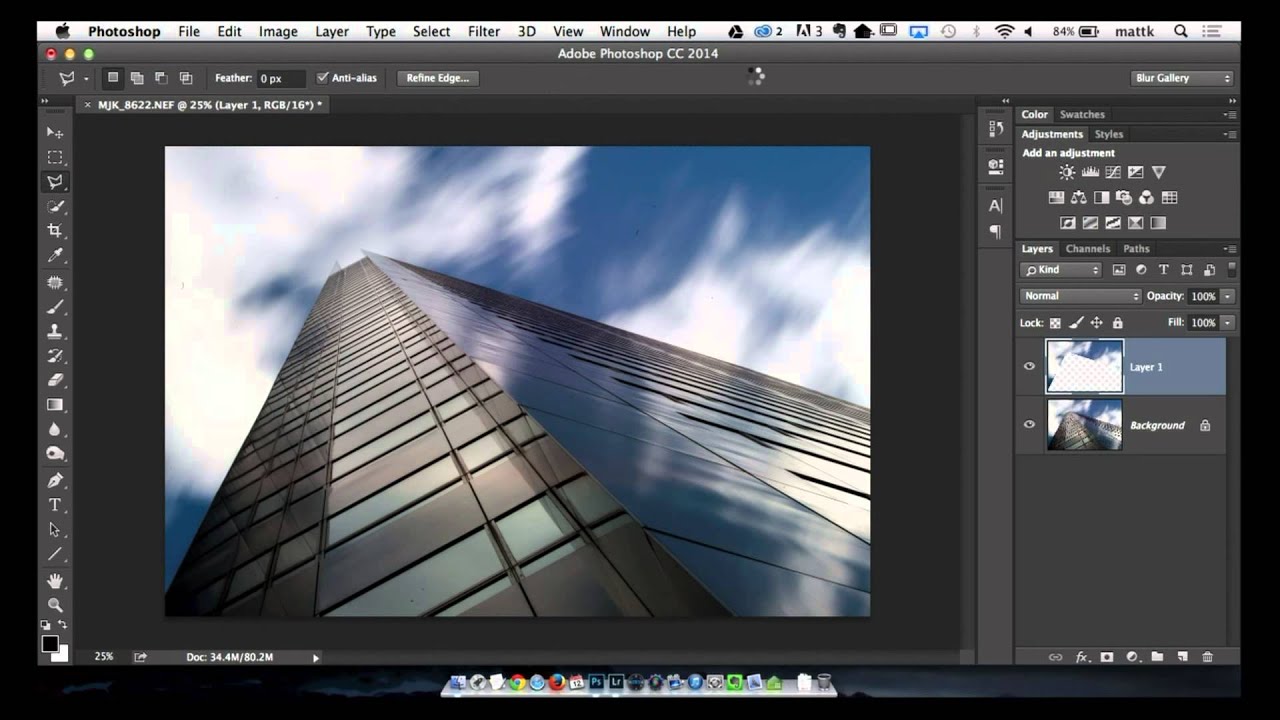
There’s a specific kind of cityscape photo I see constantly in commercial work and it always stops me cold: a rooftop perspective, dramatic black-and-white conversion, and clouds that look like they’ve been dragged across the sky by the wind during a long exposure. The effect reads as effortful and cinematic. The reality, at least in post-production, is that you can fake most of it convincingly in Photoshop without ever mounting a camera to a tripod or screwing on an ND filter.

Studio Backup Workflow: How to Archive Photos and Video So You Never Lose a Job

Studio Backup Workflow: How to Archive Photos and Video So You Never Lose a Job

I’ll be honest: I didn’t get serious about my archive system until I almost lost an entire e-commerce shoot. One corrupted transfer, one drive that was “probably fine,” and suddenly I’m on the phone with a client explaining why I need to reschedule a product shoot that involved a rented space and a hired stylist. That was the last time I treated file management as an afterthought. Since then, I’ve spent more time than I’d like to admit refining how media moves from card to archive, and I track the hours that system saves me the same way I track everything else: in a spreadsheet.

One Light, One Reflector, Every Location: What Rick Smolan's Approach Teaches Us About Portable Setups

One Light, One Reflector, Every Location: What Rick Smolan's Approach Teaches Us About Portable Setups

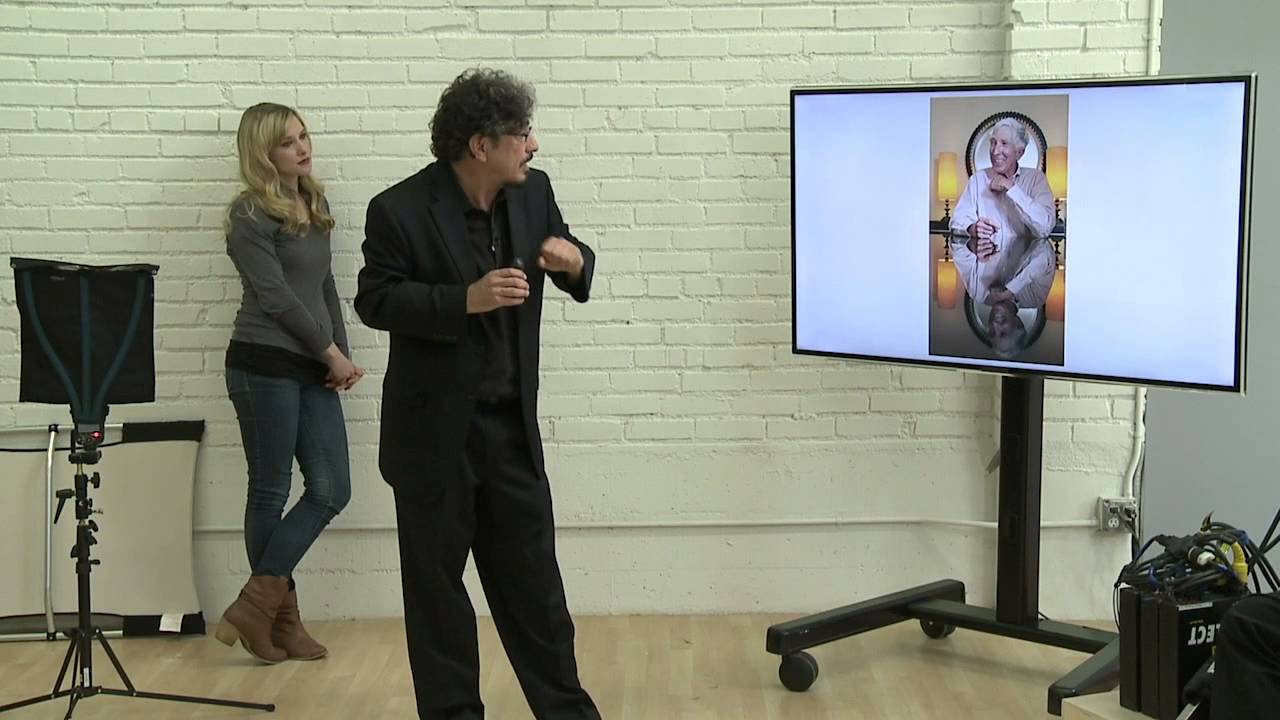
Most of my work lives in post. I’m the person who builds the batch actions, writes the droplets, and figures out why a color profile is blowing up a client’s print run. But the cleanest post-production workflow in the world can’t rescue a badly lit file. After fifteen years watching images come through commercial studios, I can tell you that the photographs that require the least retouching are almost always the ones where someone understood light before they pressed the shutter.